
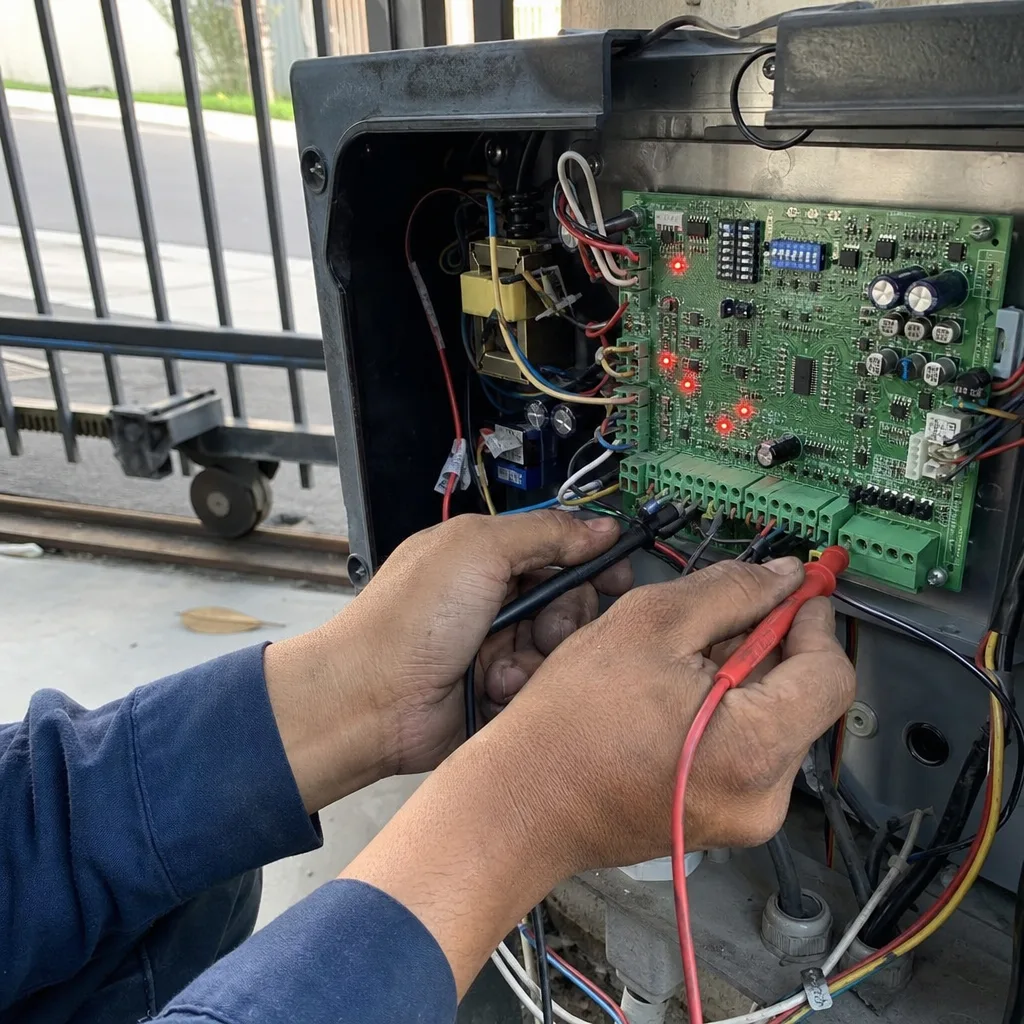
Last updated November 2, 2026
 Wrought iron
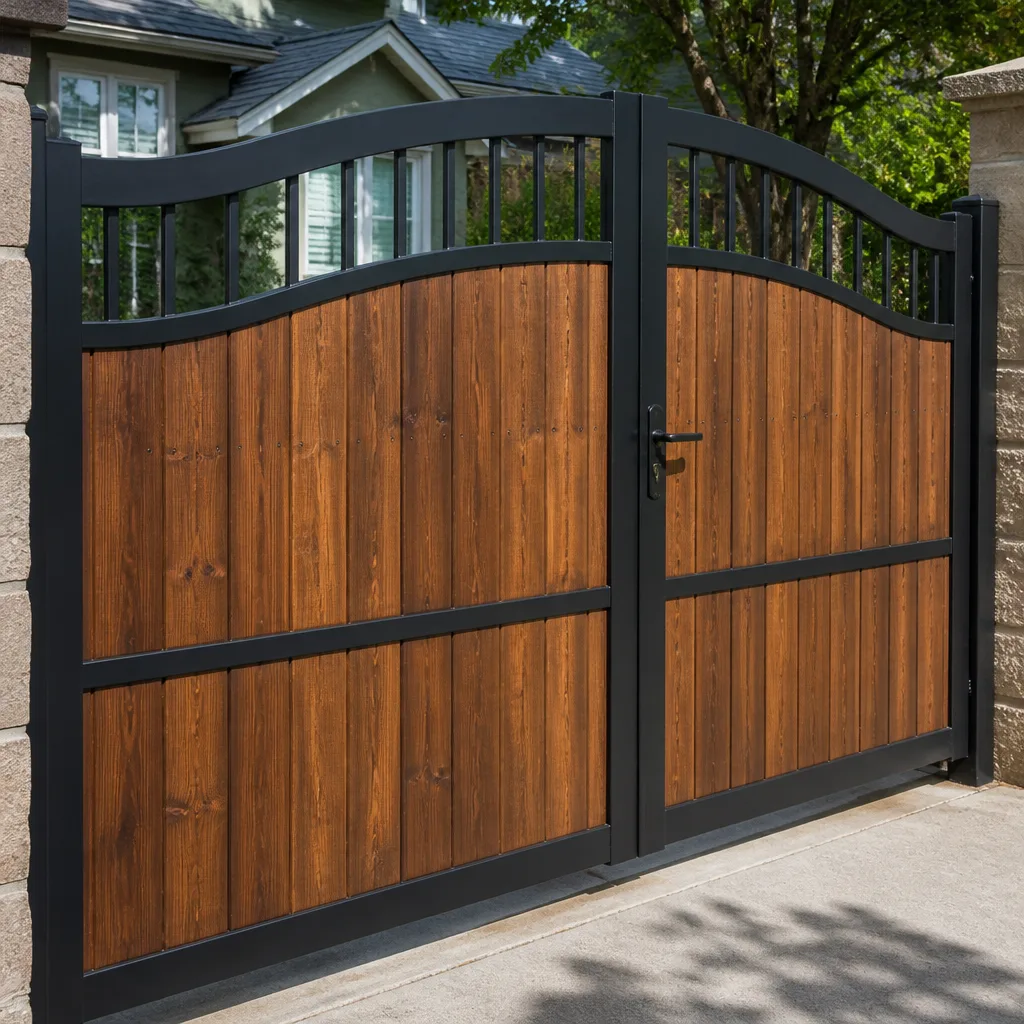 Wood & steel frame
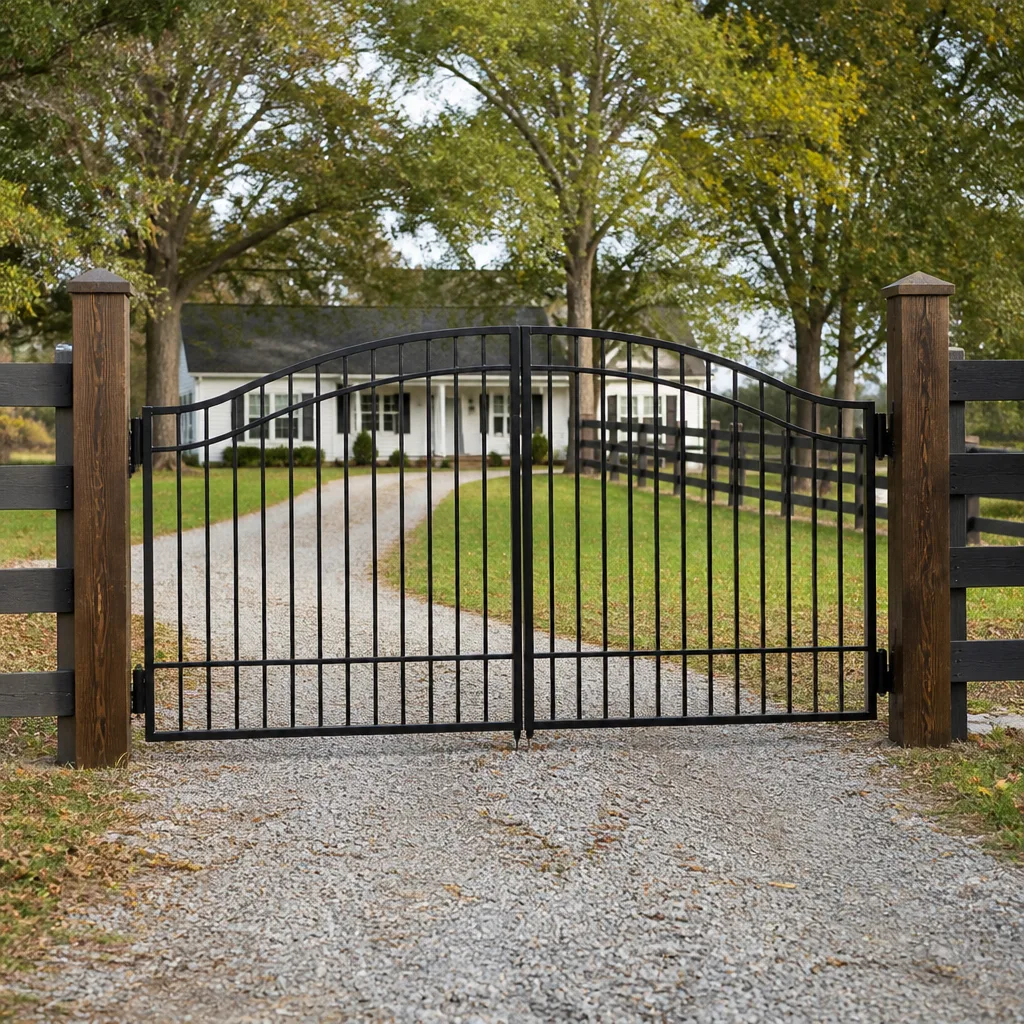 Farm & ranch
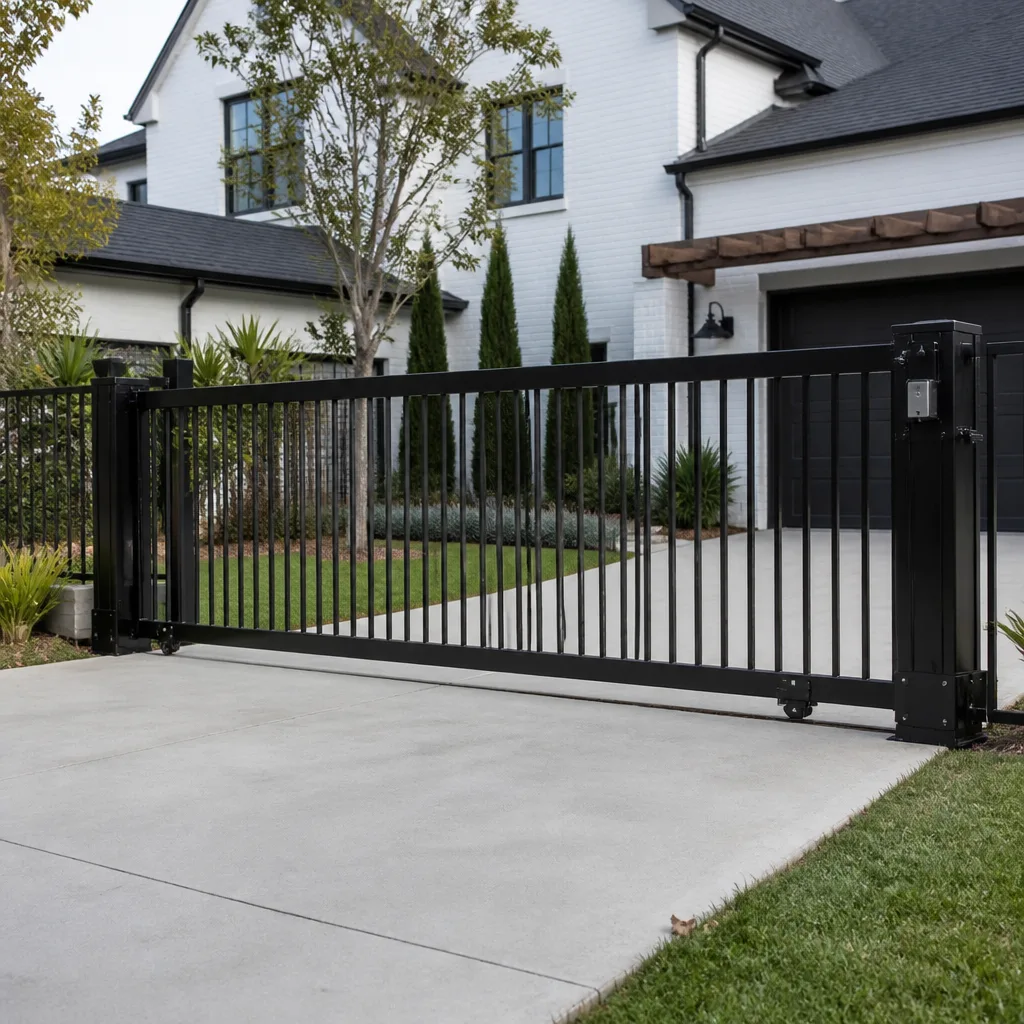 Sliding driveway gates
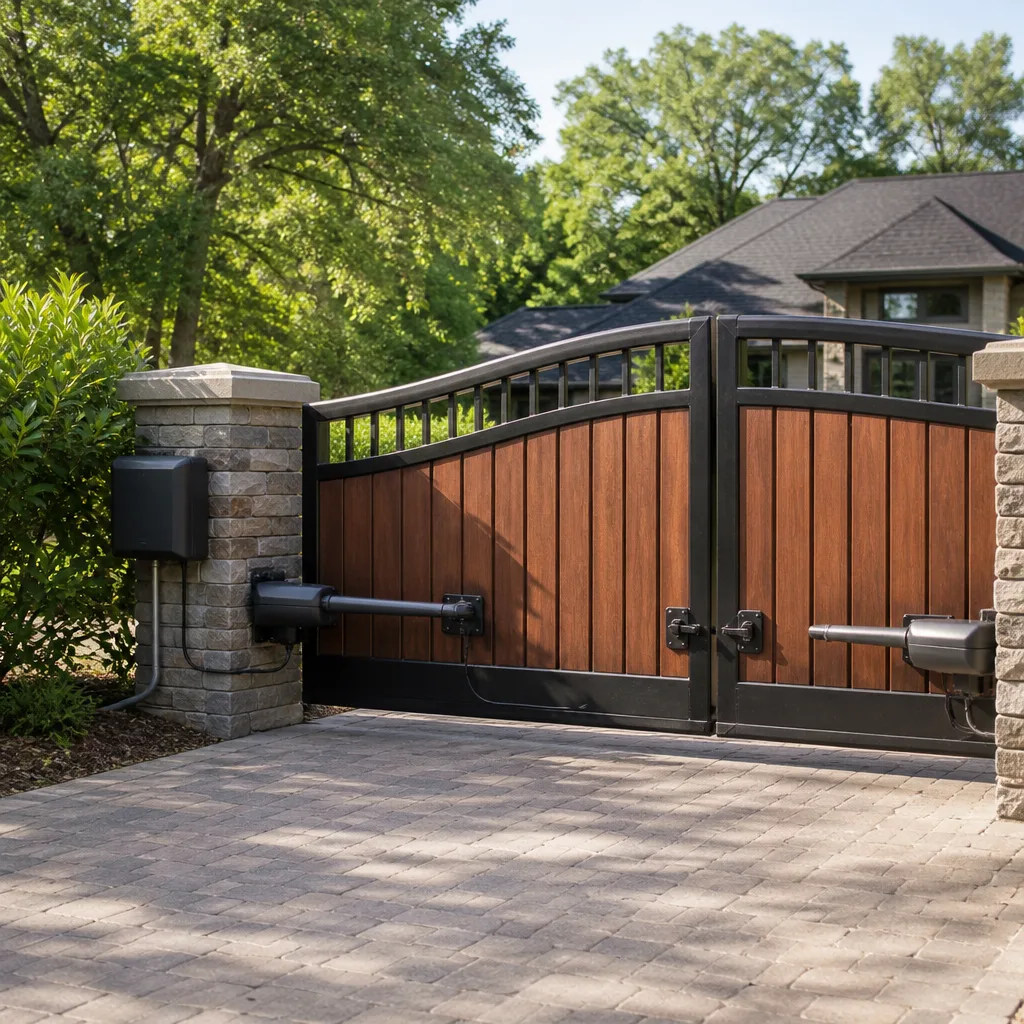 LiftMaster operators
Free on-site gate assessment - hinges, posts, and your LiftMaster or Nice gate operator checked before anything is quoted
The assessment is free and the quote is the invoice.
Get your free estimateGate Repair Maintenance Checklist for South Gate Homeowners
Ninety percent of “sudden” gate failures leave detectable warnings at least 30 days in advance. The motor doesn’t just die one morning. The hinge doesn’t snap without first sagging. The sensor doesn’t stop working without first getting dirty, misaligned, or sun-baked. The problem is that most South Gate homeowners don’t know what they’re looking at when those warnings appear. They see a gate that moves a little slower. They hear a motor that runs a few seconds longer than it used to. They notice a gate that reverses halfway and chalk it up to a glitch. This checklist changes that. It’s built around what actually breaks on automatic gates in South Gate, not generic manufacturer boilerplate. By the end, you’ll know exactly what to check, how often to check it, and which measurements tell you to call a specialist for Gate Repair services before a slow decline becomes a locked-in car and a missed morning.
Quick Answer
A South Gate gate maintenance checklist should run on three frequencies: weekly visual checks (debris, track obstructions, sensor alignment), monthly mechanical checks (hinge gap, chain tension, limit travel), and quarterly electrical checks (battery voltage, board connections, safety reverse testing). Most failures announce themselves 30 days early through noise changes, slower travel speed, or intermittent reverse behavior. Homeowners can safely handle inspection and cleaning on most systems, but anything involving spring tension, motor disassembly, or control board diagnostics is a job for a gate specialist.
Styles & brands we work with
- Wrought iron
- Wood & steel frame
- Farm & ranch
- Sliding driveway gates
- LiftMaster operators
Table of Contents
- Weekly Visual Check: What You’re Actually Looking For
- Monthly Mechanical Check: Measurements That Matter
- Quarterly Electrical Check: The Board, The Battery, The Sensors
- How to Test Safety Reverse and Auto-Close Without Getting a False Reading
- South Gate Environmental Factors: Santa Anas, UV, and Track Debris
- What’s Safe to Touch and What Voids Your Warranty
- The 30-Day Warning Signs Most Homeowners Miss
- A Seasonal Maintenance Schedule for South Gate Homes
Weekly Visual Check: What You’re Actually Looking For
You don’t need a multimeter or a torque wrench to catch most developing gate problems. You need to look at the gate the way a technician does. That means walking the full travel path, squatting down at track level, and watching the gate complete one full open and close cycle without touching your phone. In our experience fixing gates across South Gate, from the residential streets near Tweedy Boulevard to the commercial properties off Atlantic Avenue, the visual check catches more issues than any other single step. Here’s what to look at, in order.
- Track channel and bottom rail. Look for pebbles, palm fronds, leaves, and caked-on dirt in the track the gate wheel rides in. South Gate’s older neighborhoods have mature trees that drop debris year-round. A single acorn in the wrong spot can make a slide gate labor or stall.
- Gate wheels and rollers. Watch for wobble, flat spots, or a gate that rides up on the track edge. If the wheel has visible play or the gate bounces during travel, the bearing is wearing and it’s not going to heal itself.
- Hinges and weld points on swing gates. Look for rust bleeding from the hinge pin, a gate leaf that hangs lower at the latch end than the hinge end, or fresh cracks at welded joints. A swing gate that’s dropped even half an inch is telling you the hinge bushing is shot.
- Photo eye sensors. Both eyes should be clean, the lenses should face each other squarely, and the small indicator LEDs should be solid, not flickering. A flickering photo eye often gets ignored because the gate still works, but it’s the first stage of a sensor failure.
- Operator housing and wiring. Look for cracked plastic on the motor housing, exposed wire insulation, or ant colonies around the control board enclosure. Ants love the warmth of a control board and their nests cause short circuits that mimic mysterious intermittent failures.
- Gate travel path. Walk the full swing or slide path and remove anything that has encroached within a foot of the gate at any point in its travel. That includes potted plants, trash bins, and vehicles parked with the bumper spilling into the sweep area.
The weekly check takes five minutes once you know the sequence. It’s not about repairing anything. It’s about training your eye so that when something changes, you notice it immediately instead of 30 days later when the gate won’t open at all.
Monthly Mechanical Check: Measurements That Matter
The monthly check is where you stop just looking and start measuring. These are the numbers that separate a gate that’s aging normally from a gate that’s actively failing. None of these require special tools. A tape measure, a level, and your ears are enough.
- Hinge gap tolerance. For a typical residential swing gate in South Gate, the gap between the gate leaf and the hinge post should be no more than 1/8 inch wider at the bottom than at the top. Measure at the top hinge and at the bottom hinge. If the bottom gap is 3/16 inch or more when the top is barely 1/16, the hinge bushing is worn and the gate is sagging. That sag is putting side load on the operator motor, which shortens its life measurably.
- Chain or belt tension. On a slide gate with an exposed chain, press down on the chain at the midpoint between the idler sprocket and the operator sprocket. Specification varies by brand, but for most residential slide gates in the Mighty Mule and LiftMaster lines, a deflection of about 1/4 to 1/2 inch under firm thumb pressure is healthy. If the chain sags so much it drags on the guide channel or is tight enough to twang like a guitar string, stop running the gate and call a specialist. An over-tightened chain destroys output shaft bearings.
- Limit travel adjustment. Run the gate open and closed. In the fully open position, the gate should stop with the leading edge fully clear of the opening, not slammed into the end stop. In the fully closed position, it should seat against the close stop without the motor straining. If the motor grunts or the gate judders at the end of travel, the limit switch is drifting and the board is being forced to work against a mechanical stop it thinks is still ahead.
- Manual release function. Every automatic gate, from entry-level Ghost Controls systems to commercial-grade FAAC operators, has a manual release. Find it (usually a key, a pull handle, or a lever on the operator). Disengage it and push the gate through its full travel by hand. It should move smoothly without binding, scraping, or dead spots. A gate that’s hard to push manually is telling you the mechanical issue predates the motor, and the motor is working overtime just to move the mass.
- Noise signature. Close your eyes and listen to the gate run. A healthy gate makes a consistent, low mechanical hum. New sounds to flag: a rhythmic squeak (worn bearing), a grinding rasp (metal on metal in the drive train), a high-pitched whine that changes pitch (capacitor or board issue), or a thunk at start-up (loose sprocket or coupling). The noise signature is the single most reliable early warning system you have, and it can’t be automated.
If any monthly measurement is out of spec by more than a small margin, you’re looking at a repair window, not a panic. Most of these issues, caught at the monthly stage, are sub-$400 fixes. Left alone, they become operator replacements at several times that cost.
Quarterly Electrical Check: The Board, The Battery, The Sensors
Electrical failures are where gate problems get expensive, and they’re also where South Gate’s climate works against you most aggressively. The quarterly electrical check is about catching connection decay, battery degradation, and sensor drift before they become no-power situations.
- Control board inspection. Open the operator housing. Look for discoloration on the board face, bulging capacitor tops, burn marks around relay contacts, or a fine white dust that suggests solder joint breakdown. Take a photo with your phone and compare it to the previous quarter. Board decline is gradual and visible if you’re looking for it. If you see any of these signs, a gate specialist can often re-solder, re-seat, or re-flash the board before it fails outright. We work on control boards from Elite, Viking, and BFT systems regularly, and the repairs that succeed are almost always the ones caught before the component fully burns.
- Battery and charger voltage (backup systems only). If your gate has a battery backup (common on FAAC and Viking commercial installations, and increasingly on higher-end residential LiftMaster systems), check the battery terminals for corrosion and the battery case for swelling. A swollen battery is a fire hazard and should be replaced immediately. Terminal corrosion can be cleaned with a wire brush, but if the corrosion has traveled down the cable under the insulation, the cable needs replacement with it.
- Photo eye alignment and voltage. Clean both lenses with a dry microfiber cloth. Verify the LED indicators are solid. Then tape a piece of cardboard over one eye and run the gate closed. It should stop and reverse. If it doesn’t, the sensor isn’t actually communicating with the board even if the LEDs look fine. This is the single most common false-positive sensor test, and we’ll cover it in more detail below.
- Ground and neutral connections. Looseness at the ground lug or neutral bar causes voltage fluctuations that confuse control boards and produce intermittent fault codes. With the operator disconnected from power, check that each terminal screw is snug. Don’t overtighten; snug is the target. A technician’s torque screwdriver set to spec is better, but a careful hand-check catches the worst offenders.
- Keypad and access system function. Test every code you actually use on the keypad, plus any remote transmitters and the intercom if you have one. Dirty keypad contacts and worn remote buttons produce the kind of “my gate just stops working for no reason” behavior that’s actually a worn out input device, not a gate problem.
If your gate is installed on the south or west side of the property, pay extra attention to every electrical component in this check. South Gate’s summer sun exposure on those orientations bakes operator housings well past the operating temperature range of most residential control boards.
How to Test Safety Reverse and Auto-Close Without Getting a False Reading
Safety reverse is the feature that keeps an automatic gate from closing on a child, a pet, a car, or a garbage can that’s wandered into the path. It’s also the feature that gives homeowners the most false confidence, because the standard test method most people learn from YouTube produces false positives that mask real sensor failures.
The standard test: you put your hand or a box in the gate path while it closes and watch it reverse. That’s the correct test in principle. But here’s the false positive: if you position the object in the path before the gate reaches the photo eye beam, and the gate reverses, you’ve only proven that the photo eye works. You haven’t tested the motor’s current-sense reverse function, which is the system that detects physical contact resistance. Both systems should be tested independently, and almost nobody does the second one.
How to test photo eye reverse correctly:
- Start with the gate in the fully open position.
- Place a solid object (a 2×4 standing on end, a traffic cone, a cardboard box weighted down) directly in the path of the gate, between the two photo eye posts.
- Trigger the gate to close.
- Watch where the gate stops and reverses. If it stops at least 6 inches before reaching the object and reverses, the photo eye is functioning correctly.
- If the gate slows but continues through the beam and only reverses after touching the object, the photo eye is misaligned or blocked and the system is running on current-sense reverse only. That’s a single-point failure scenario and it needs service.
How to test current-sense reverse correctly:
This test requires bypassing the photo eye deliberately, which is not something we recommend homeowners do on their own. The current-sense reverse setting lives in the control board’s force adjustment, and testing it means temporarily disabling the photo eye input, running the gate into a test object, and verifying that the motor draws enough current to trigger the reverse circuit. Get the force setting wrong while you’re in the board and you can disable the safety reverse entirely without realizing it. This is a specialist test. If you want it verified, a gate technician can run it in under ten minutes – learn more in Gate Repair Permits, Codes & Inspections in CA: What You Need to Know. We’d rather see a homeowner skip this test than do it wrong and leave a gate with no reverse protection at all.
The auto-close function is simpler. If your gate has auto-close (most residential systems in South Gate do), time it for a week. The close delay should be consistent within a few seconds. If the gate sometimes closes in 15 seconds and sometimes decides it’s not going to close at all until you manually trigger it, the auto-close timer on the board is drifting, or the photo eye is intermittently losing its signal and the board is defaulting to hold-open as a safety response. Both are diagnosable, and both get worse.
South Gate Environmental Factors: Santa Anas, UV, and Track Debris
Your gate lives in South Gate full-time. It deals with everything our climate throws at it, and two factors stand out above all the rest in the repair calls we take from South Gate homeowners.
Santa Ana wind events. The Santa Anas don’t just knock gates out of alignment. They turn the area around your gate into a debris delivery system. Palm fronds, eucalyptus bark, loose shingles, and tumbleweeds all end up in gate tracks and drive chains during a wind event. After any Santa Ana episode, the right move is to clear the track channel and inspect the chain for debris caught in the links. Debris in a drive chain acts like a wedge, pulling the chain tight in one spot and loose in another. Run the gate with debris embedded in the chain and you’re putting uneven load on the output sprocket and the chain itself. Give the track and chain a visual once-over within 24 hours of any wind event over 25 miles per hour.
UV degradation. South Gate’s unshaded operator housings bake in direct sun for 250-plus days a year. Plastic enclosures crack. Wire insulation gets brittle and flakes. Control board solder joints expand and contract through thermal cycles until they develop micro-fractures. The components most vulnerable are the plastic photo eye housings, the capacitor tops on the control board, and any exposed low-voltage wiring between the operator and the keypad. If your operator housing faces west or south, check it monthly. A hairline crack in a plastic housing lets moisture in, and moisture on a live board is the shortest path from “works fine” to “won’t respond.”
One more South Gate-specific note: older neighborhoods with original clay drain lines see more ground settlement than newer developments. That settlement shifts gate posts, which changes the alignment of the gate relative to the operator. A gate that ran true for years can develop a slow bind because the post it swings on moved a quarter inch. If your gate worked fine for years and is now struggling, check the post with a level before blaming the motor.
What’s Safe to Touch and What Voids Your Warranty
Here’s the short version: everything we’ve covered so far in the weekly and monthly checks is homeowner-safe and warranty-preserving. Cleaning tracks, wiping sensors, testing safety reverse, checking hinge gaps, and measuring chain tension don’t void anything. But the moment you open an operator housing and start adjusting internal components, you need to know where the line is.
Safe for homeowner self-service on most systems:
- Cleaning the gate track, wheels, and bottom rail
- Wiping photo eye lenses with a dry cloth
- Lubricating hinges and wheels with a dry silicone spray (never grease, which attracts dust)
- Tightening visible external bolts on hinge plates and track brackets
- Testing manual release and safety reverse functions
- Changing keypad codes and remote batteries
Void-your-warranty territory:
- Adjusting chain tension on a system where the tensioner is inside the operator housing
- Opening the control board enclosure and adjusting any potentiometer, DIP switch, or jumper setting
- Replacing photo eye transmitter or receiver components (the wiring polarity is brand-specific and easy to reverse)
- Any spring tension adjustment on a cantilever slide gate or a self-closing pedestrian gate
- Modifying the operator mounting plate or re-drilling mounting holes
- Bypassing any safety input (photo eye, edge sensor, loop detector) even temporarily
LiftMaster, FAAC, and Elite all have warranty language that requires service by qualified personnel for internal adjustments. If you open the housing and something goes wrong, the manufacturer’s warranty is gone. Even if the failure wasn’t your fault, you’ll spend weeks fighting to prove it. The gate brands we service the most in South Gate all share this clause. If it involves opening a housing, it’s a phone call, not a DIY project.
The 30-Day Warning Signs Most Homeowners Miss
Every gate failure we’ve seen in South Gate that was later described as “sudden” had been broadcasting for weeks. The homeowner just didn’t have a decoder. Here are the warning signs, and what they mean.
- The gate is slower than it used to be. A slide gate that takes 15 seconds to open when it used to take 12 is a capacitor in early decline or a motor working against increasing friction. Either way, the trend doesn’t reverse on its own.
- The gate reverses in the middle of a cycle, then works fine on the next attempt. This is the photo eye losing alignment intermittently, or a force setting that’s too sensitive. It’s the most common “ghost” behavior in South Gate’s automatic gates, and it will become permanent within a month.
- You hear a click but the gate doesn’t move. The control board relay is firing, which means the board is alive, but the motor isn’t receiving power. That’s a contactor, capacitor, or motor winding issue. The click is your 30-day warning.
- The gate stops an inch short of the close stop, then the motor keeps humming for a beat. The limit switch is set too far from the mechanical stop. The motor is now stalling against the stop, drawing locked-rotor current, and overheating. This is a gate that’s actively destroying its own motor.
- The keypad works sometimes. Intermittent keypad response is almost never a keypad problem. It’s a signal degradation issue in the wiring between the keypad and the board, or a board input going flaky. Homeowners replace keypads over this and the problem persists, because the keypad was never the problem.
- The gate opens fine but closes slowly, or vice versa. Direction-specific speed loss means a drive component is wearing asymmetrically, typically a worn output gear or a chain that’s tighter in one direction. Directional slowdown is never a software issue.
One of these signs, once a week, might be environmental. One of these signs, multiple times a week, is a developing component failure. The rule of thumb: if a behavior repeats, it’s real. If it happens once and never again, note it and move on.
A Seasonal Maintenance Schedule for South Gate Homes
South Gate’s climate doesn’t have a freezing winter that forces gates off their tracks like the Midwest does. Our weather pattern creates three distinct maintenance seasons, and the smart homeowners we work with adjust their gate attention accordingly.
Late summer to early fall (Santa Ana prep). The windy months from September through November deserve the most aggressive mechanical attention. Before the season starts, do a full track and chain clean, verify all hinge bolts are torqued, check the gate for side play, and test both safety reverse systems. During the season, do a quick track inspection after every significant wind event. This is also when we see the most gate motor failures in South Gate, because motors that have been running hot all summer finally give up during the added load of wind season.
Winter (mild but damp). South Gate winters are gentle by most standards, but the winter marine layer brings moisture. The winter check focuses on electrical connections and corrosion. Open the operator housing on a dry day, check for moisture beads inside the enclosure, verify terminal connections are clean, and look for rust forming on exposed metal components. If you see condensation inside the housing, the enclosure seal has failed and needs replacement before the board shorts out.
Spring to summer (heat stress). The hot months put the most thermal stress on control boards and capacitors. Before the first heat wave, check the board for swelling components and discoloration while the housing is open. Then make sure the operator housing has some shade if possible. A simple shade cloth or strategically placed plant can drop the internal housing temperature 15 to 20 degrees, which is the difference between a board that lasts five years and one that cooks itself the first summer.
Most South Gate homeowners can handle the inspection portion of every season on their own. The repair portion is what we’re here for. Our Gate Repair in South Gate service covers everything from hinge replacements to complete operator swaps, and we work on all the major brands without pushing a replacement when a repair is the right call.
Common Mistakes to Avoid
- Using grease on hinges and track wheels. Grease attracts dust and grit, which turns into an abrasive paste within weeks. Use a dry silicone spray or a PTFE-based lubricant. Greasing a gate hinge in South Gate’s dusty summer conditions is the fast track to a seized hinge.
- Adjusting the force setting because the gate “seems too sensitive.” When a gate reverses or stops mid-cycle, the force setting is almost never the root cause. Raising the force to push through the resistance means the gate now closes with more force, which makes the safety reverse less effective and masks the mechanical problem that’s actually causing the resistance.
- Ignoring a noisy gate because it still works. The grinding, squeaking, and thunking sounds a gate makes are diagnostic data. A gate that’s making a new noise is telling you something specific about where the wear is happening. Ignore the noise and you’re choosing to wait for the component to fully fail.
- Replacing the keypad or remote before checking the board input. Intermittent access problems are board or wiring issues far more often than they are transmitter issues. Homeowners burn money on new keypads and remotes, and the new unit behaves exactly like the old one because the fault was never in the hand-held device.
- Testing safety reverse after the gate has already failed. Safety systems need to be tested when the gate is working well, not after a failure. If the only time you verify the reverse function is after something went wrong, you’ve been driving with no safety net the entire time the gate was heading toward that failure.
- Assuming a swing gate that sags is just “an old gate thing.” Sag is the symptom, not the condition. It means a bushing, a hinge, or a post foundation issue. Treating sag as cosmetic means the operator motor is now carrying a side load it wasn’t designed for, and you’re turning a $200 hinge repair into a $1,500 operator replacement.
- Doing the weekly check once, then never again. A single inspection gives you a snapshot. The value in the checklist comes from repetition, because that’s how you notice the change. A gate that’s slowly getting slower only reveals itself over time.
See the difference
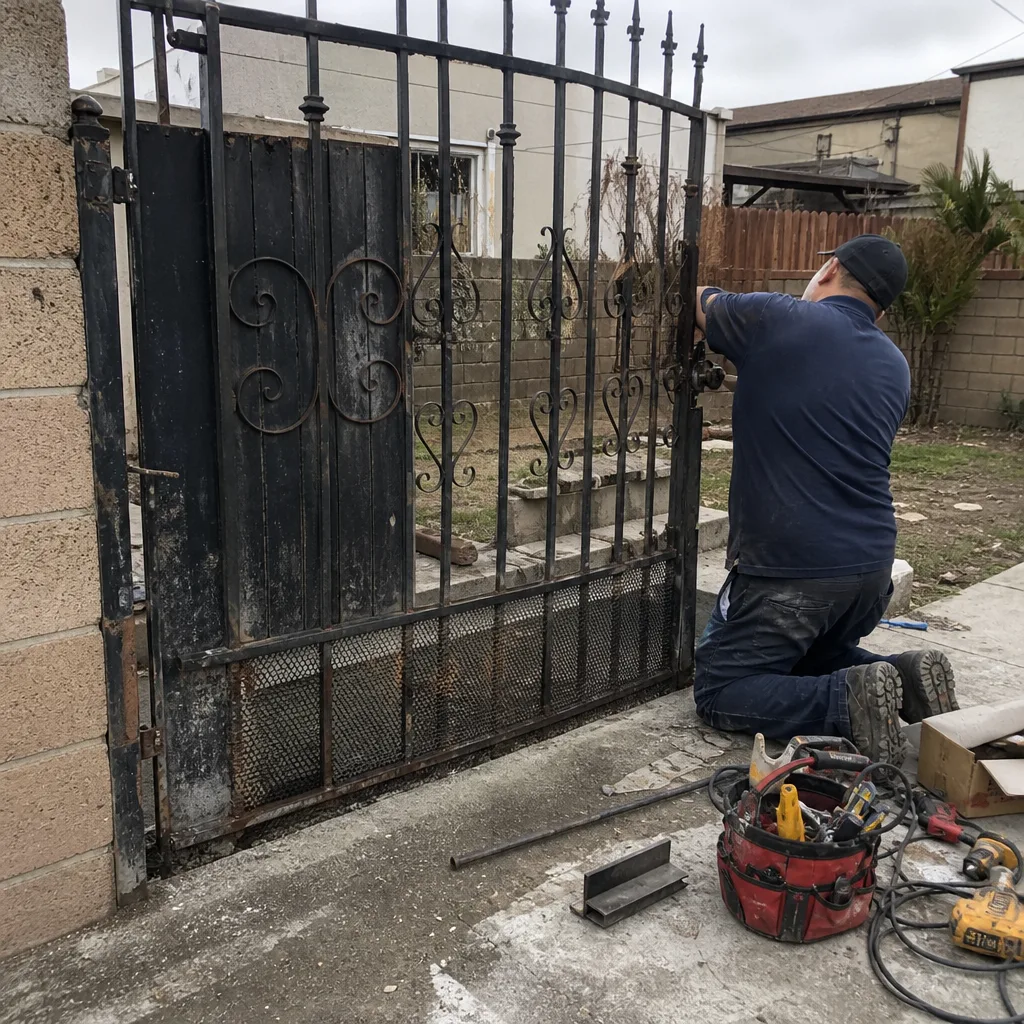 Before
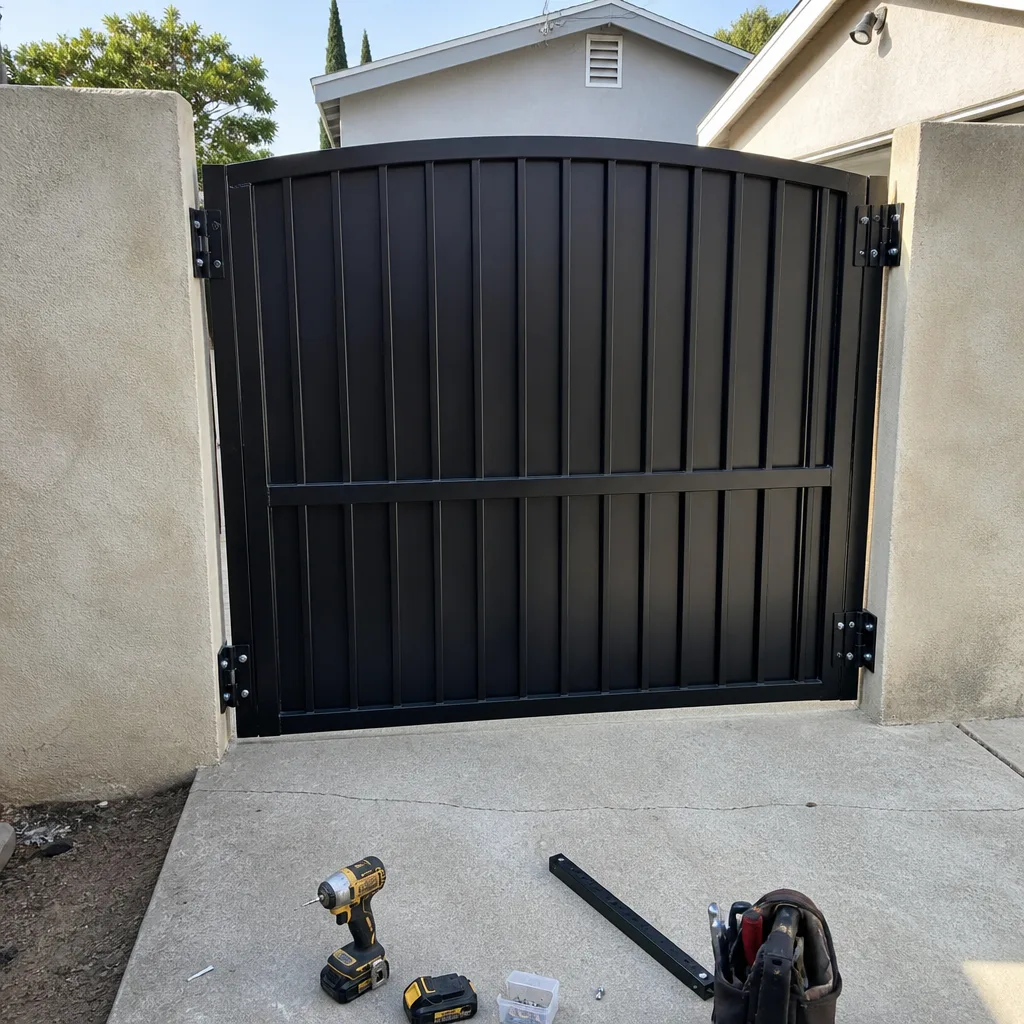 After
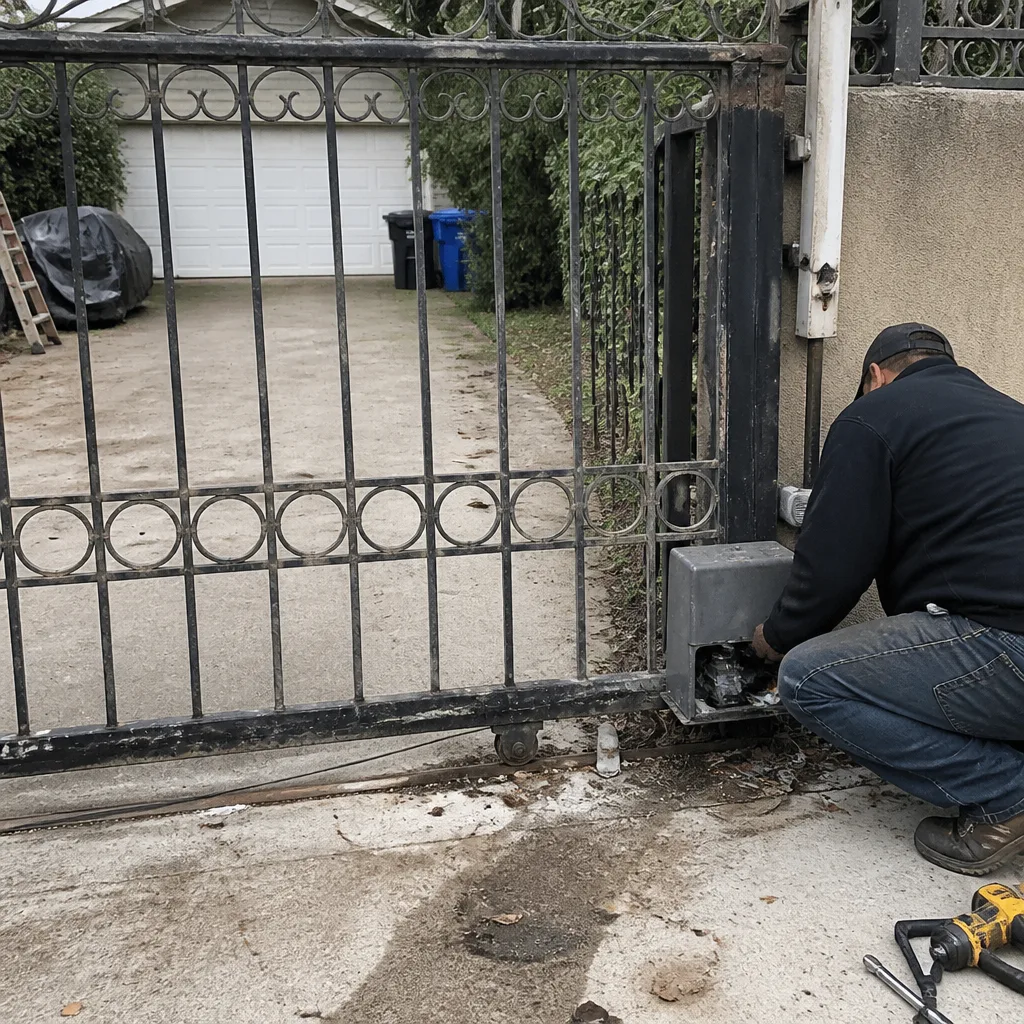 Before
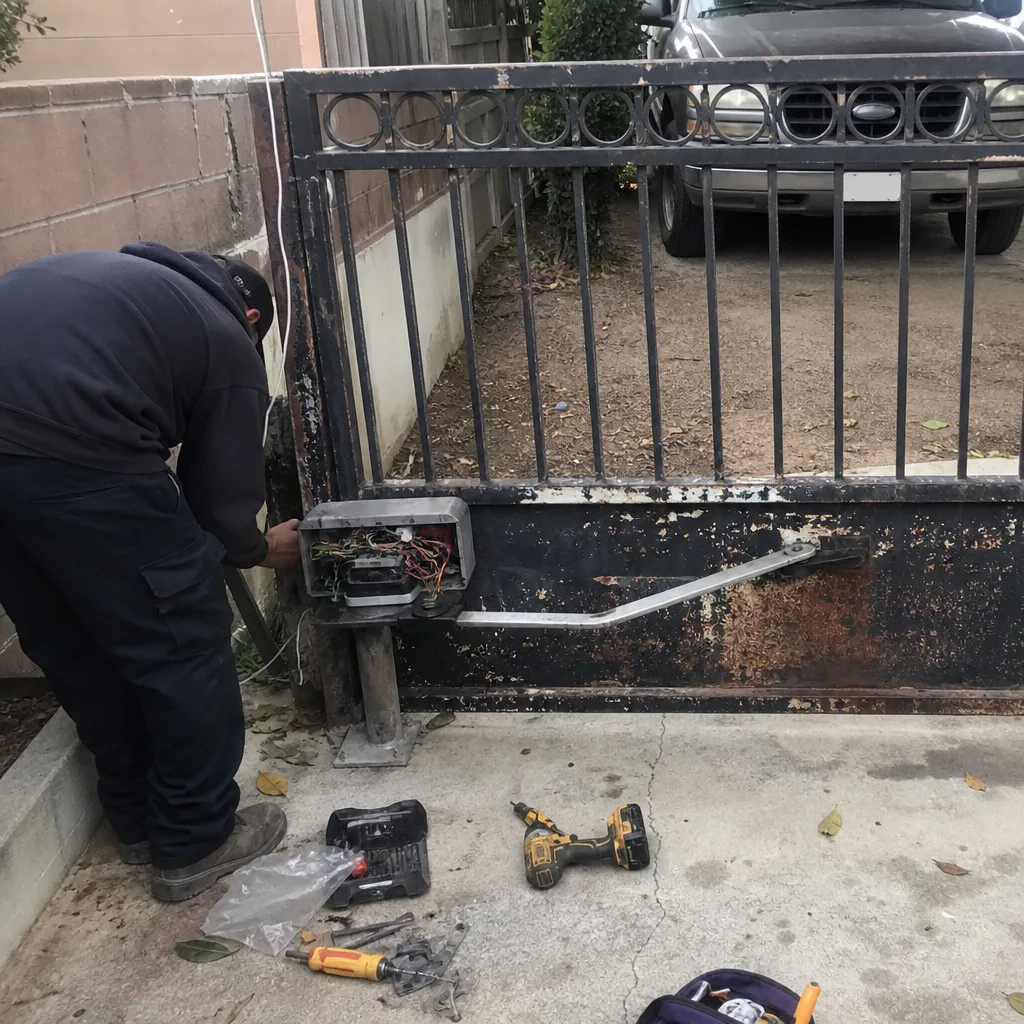
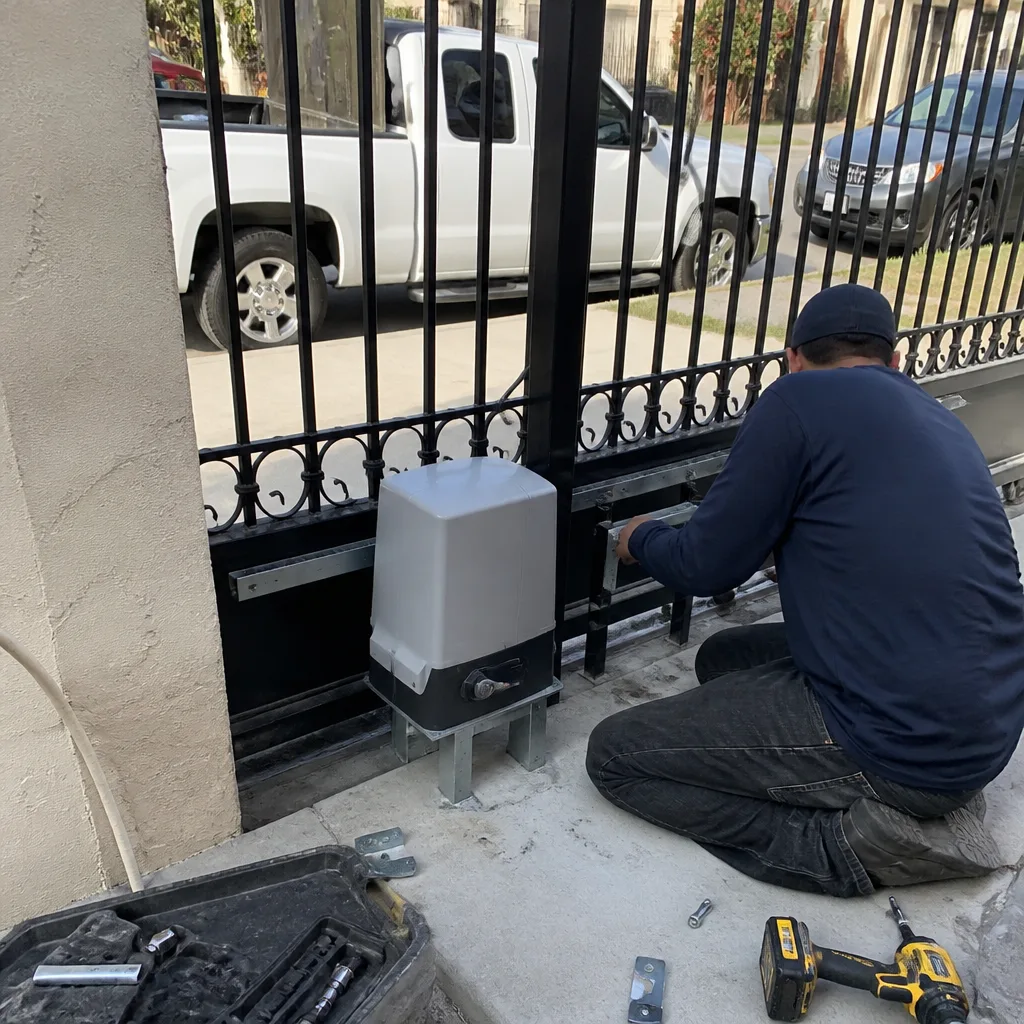 After
 Before
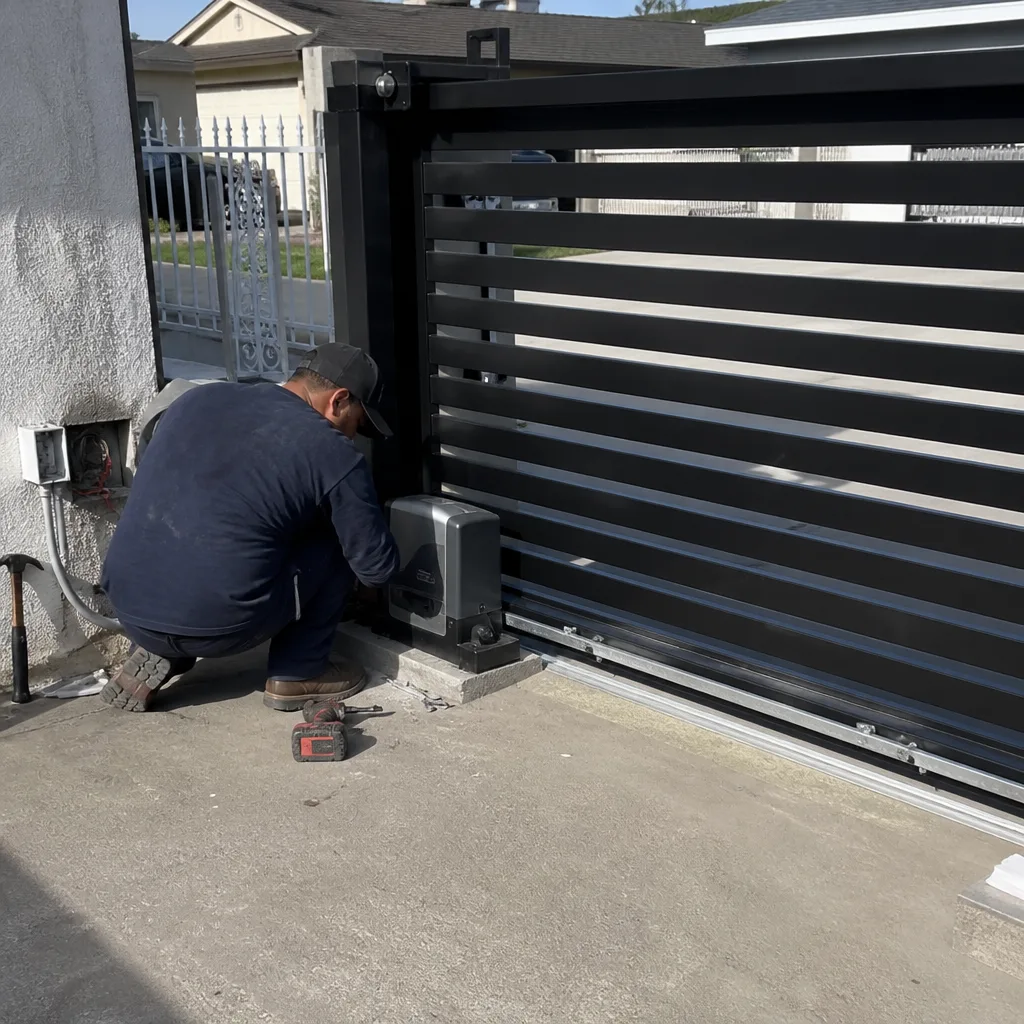 After
When to Call a Professional
Some things belong in the hands of someone who works on gates every day. If your gate slams shut, won’t stay in manual release mode, or sparks anywhere in the operator circuit, shut the system down and call a specialist. Same goes for chain or belt replacement, board diagnosis, spring replacement on any self-closing mechanism, and any repair that requires opening the operator housing to access drive components. If you’ve found multiple warning signs on this checklist and the gate is still running, that’s actually the ideal time to get service, because the repair is cheaper before the failure than after it. Gate Repair South Gate offers free estimates in South Gate. If you’re not sure whether something needs attention, call (833) 620-0289 and describe what you’re seeing. We’ll tell you if it’s urgent, if it can wait, and what it’s likely to cost before anyone visits the property.
For a deeper look at what gate repair actually involves, see our main Gate Repair in South Gate page. If you’re dealing with an electric system that’s acting up, our Electric Gate Repair in South Gate page covers motor, board, and sensor diagnostics in detail. And if your gate has reached the point where repair no longer makes sense, check out our Gate Installation in South Gate page for what a full replacement involves.
Frequently Asked Questions
At minimum, do the five-minute weekly visual check and the fifteen-minute monthly mechanical check. In South Gate’s climate, the quarterly electrical check is the one most homeowners skip and the one that catches the most expensive failures. If you have a gate on a south or west-facing wall, do the electrical check every other month during summer, because heat stress on the control board accelerates sharply above 95 degrees.
Most residential gate repairs in South Gate run between $180 and $650 depending on what’s failed. Simple fixes like photo eye replacement, hinge bushing replacement, or remote reprogramming sit at the lower end. Control board replacement, motor replacement, or complete drive train rebuilds land at the upper end or higher for commercial systems. Call (833) 620-0289 for a free estimate, and we’ll give you a firm quote before any work starts.
Cleaning, inspection, sensor testing, and external bolt tightening are safe for homeowners on all major gate brands including Mighty Mule, LiftMaster, Elite, and FAAC. Opening the operator housing, adjusting internal tensioners, changing board settings, or modifying safety circuits will void most manufacturer warranties. If the work requires opening a housing, call a gate specialist.
The most common failure we see in South Gate is photo eye misalignment combined with force setting drift. The gate reverses mid-cycle, the homeowner raises the force setting to compensate, the reverse function gets weaker, and within months the gate either won’t close at all or closes with too much force. It’s a slow cascade that starts with what looks like a minor annoyance.
A well-maintained residential gate operator in South Gate should last 10 to 15 years. Gates with no maintenance typically lose their operator motor at the 5 to 7 year mark, and the difference comes down to heat exposure, debris management, and whether mechanical issues like hinge wear were addressed before they became motor loads. The gate frame itself should last 20-plus years with rust maintenance.
Yes. We’re a Gate Repair South Gate home team that works across the full range, from Mighty Mule and Ghost Controls residential operators to commercial-grade FAAC, BFT, Elite, and Viking systems. The same diagnostic approach applies whether it’s a single-family driveway gate or a multi-unit property entrance. If the problem is a symptom, not a component, we don’t replace the component and hope for the best. We find the symptom’s source and fix that.
The Bottom Line
A gate maintenance checklist is not a chore list. It’s an early warning system that converts “sudden” failures into scheduled repairs. The weekly visual check catches debris and sensor issues before they become stalls. The monthly mechanical check catches hinge wear and chain tension before they become motor loads. The quarterly electrical check catches board decline and battery degradation before they become no-power situations. In South Gate’s heat, wind, and sun, the gates that last are the gates that get looked at. Not repaired constantly, not replaced early, just looked at with a trained eye and addressed when the measurements say something’s changing. If you’re not sure what you’re seeing, explore more guides & resources or call a gate specialist. If you’re not sure you want to invest an hour a month in looking, know that the alternative is almost always a bigger invoice later.
Written by the team at Gate Repair South Gate, serving South Gate since 2013.