
Last updated November 2, 2026
 Wrought iron
 Wood & steel frame
 Farm & ranch
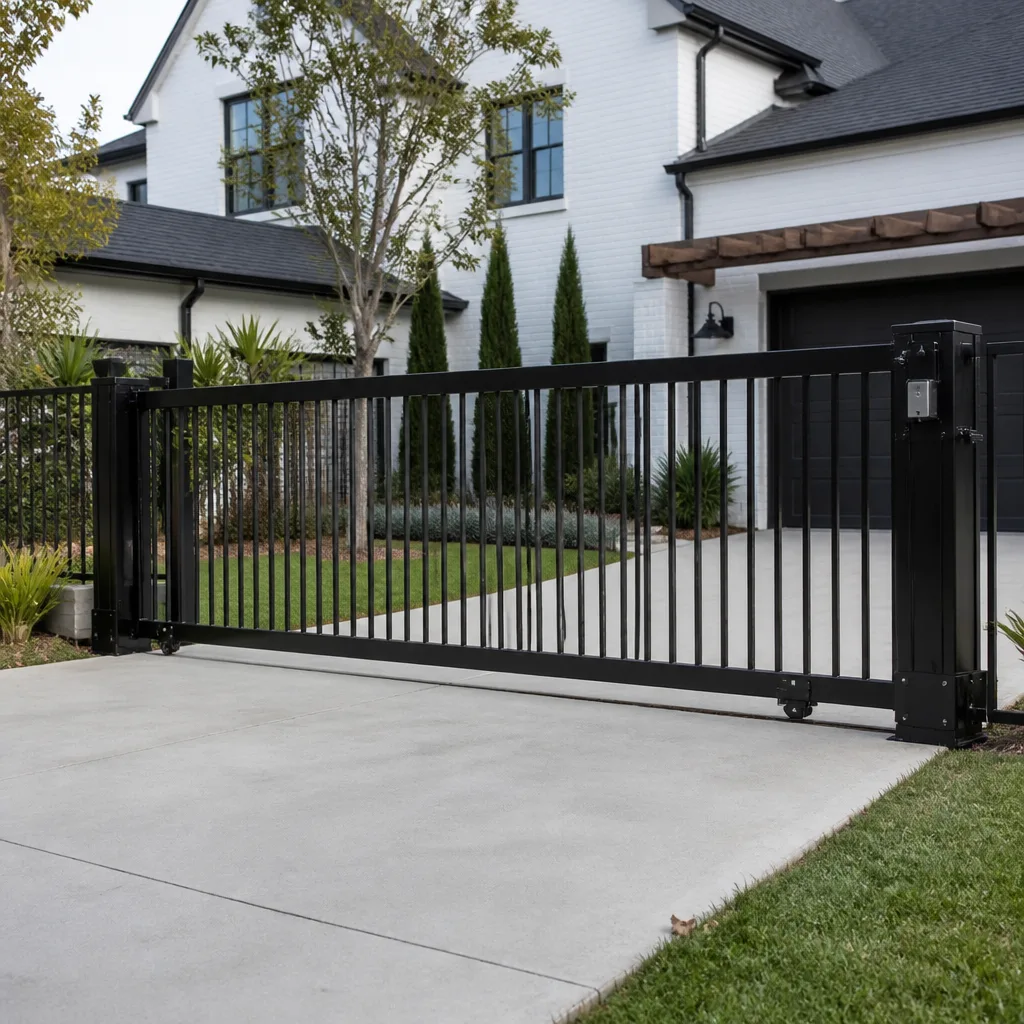 Sliding driveway gates
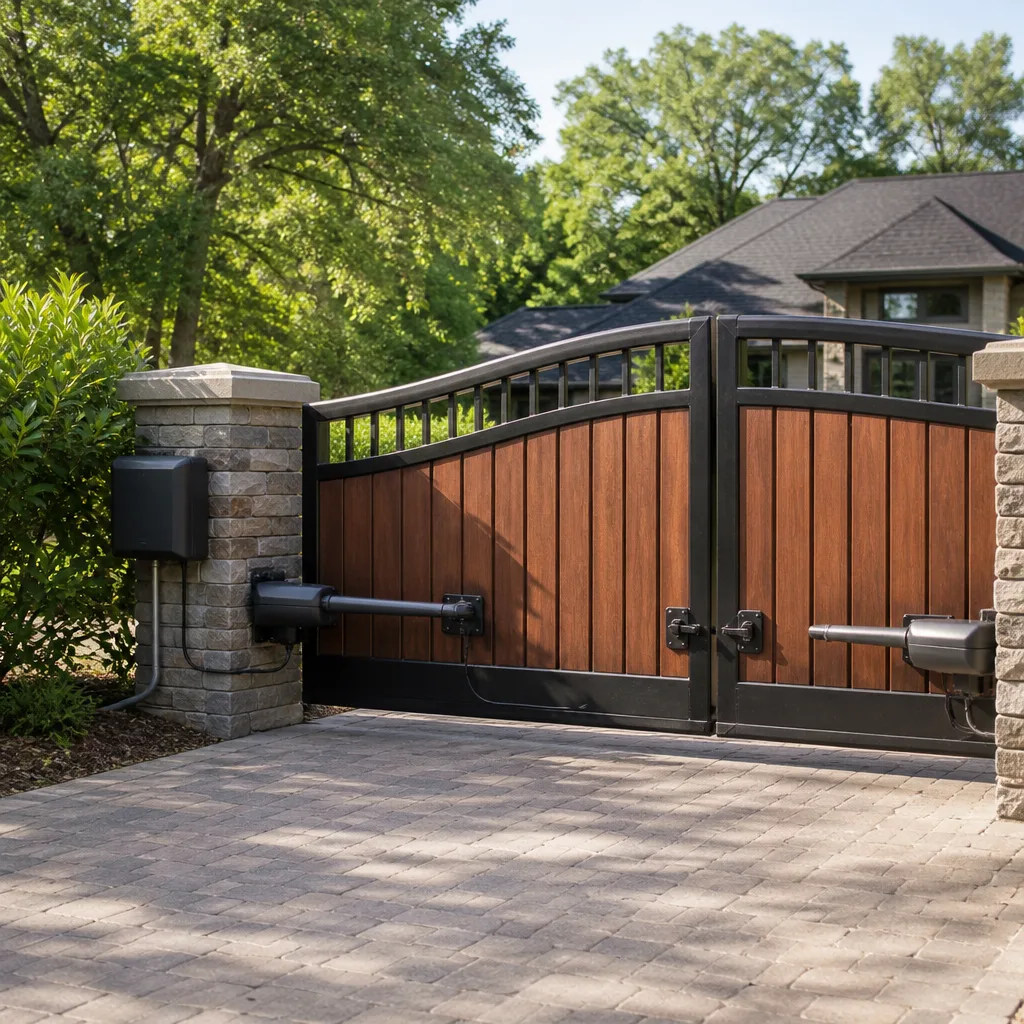 LiftMaster operators
Free on-site gate assessment - hinges, posts, and your LiftMaster or Nice gate operator checked before anything is quoted
The assessment is free and the quote is the invoice.
Get your free estimateGate Repair Troubleshooting: Common Problems and How to Fix Them
A gate that reverses immediately after closing isn’t broken. It’s telling you exactly what’s wrong. Gate operators communicate through behavior, and knowing how to read those signals separates a 15-minute fix from a $400 service call. This guide maps specific symptoms to specific root causes across the most common gate automation systems, so you arrive at an accurate diagnosis in minutes, not hours. We’ve spent years repairing gates across South Gate and surrounding neighborhoods, and we’ve seen the same five failures repeat across every brand. Here’s what your gate is trying to tell you.
Styles & brands we work with
- Wrought iron
- Wood & steel frame
- Farm & ranch
- Sliding driveway gates
- LiftMaster operators
Quick Answer
Most automatic gate failures trace to one of five root causes: misaligned safety sensors, a dead or desynced remote, a failing capacitor in the motor, a limit switch that’s drifted out of position, or physical obstruction on the track or hinges. Start with the safety sensors and the manual release, because those account for roughly half of all service calls we see in South Gate. If the gate won’t respond at all, check the breaker and the operator’s power switch before touching anything else.
Table of Contents
- Reverse-on-Close: Why Your Gate Bounces Back Open
- Non-Responsive Remote: Diagnosing the Signal Chain
- Gate Moving Slowly: Load, Voltage, and Mechanical Drag
- Gate Stops Mid-Cycle: Interrupted Travel and What Causes It
- Grinding Noise: Bearing, Chain, and Rack Wear
- Reading Error Codes and Blink Patterns by Brand
- When a Factory Reset Helps and When It Makes Things Worse
- Three Field Diagnostics Anyone Can Run Before Calling a Technician
- Common Mistakes to Avoid
- When to Call a Professional
- Frequently Asked Questions
- The Bottom Line
Reverse-on-Close: Why Your Gate Bounces Back Open
This is the most reported gate failure we see across South Gate, and the cause is almost never what homeowners assume. When a gate reverses immediately after touching the close limit, the operator is receiving a signal that something is in the way. That signal comes from one of three places: the safety photo eyes, the safety edge or loop detector, or the current-sensing circuit in the operator itself.
Here’s the symptom-to-cause map we use on every reverse-on-close call:
- Photo eye misalignment: If the gate reverses within two seconds of starting to close, the photo eyes have likely drifted or been bumped. One eye has an LED that should be solid green or red (varies by brand) when aligned. A blinking LED means misalignment. Clean both lenses and re-aim them so the beams lock.
- Safety edge triggered: If the gate reverses only when it reaches the physical close point, the safety edge or its wiring is shorting. On DoorKing and Linear units, a pinched wire from repeated cycles is a frequent culprit.
- Current sensing too sensitive: If the gate reverses without any obstructions present, the operator’s force or obstruction sensitivity setting may be dialed too low. This is especially common after a power surge resets the control board to factory defaults. On Ghost Controls residential units, the force dial is accessible behind the cover panel and labeled clearly.
- Limit switch drift: If the gate closes fully, then jogs back open a few inches, the close limit switch has shifted. The operator thinks it’s over-traveling and commands a reverse. DoorKing operators use a mechanical limit nut that can loosen over years of vibration, and this is one of the first things our Electric Gate Repair in South Gate team checks.
In South Gate’s older neighborhoods, we frequently find gates that have been in service for 15 or more years. The photo eyes on those units often have UV-clouded lenses from direct sun exposure. A quick lens polish with a soft cloth sometimes restores alignment without replacing any parts.
Non-Responsive Remote: Diagnosing the Signal Chain
A remote that does nothing usually triggers a frantic battery swap that doesn’t solve the underlying problem. The signal chain runs: transmitter (your remote) to receiver (antenna or built-in board) to control board to motor. You need to figure out which link has failed.
- Test the wall station or keypad. If the gate opens from the wall button but not the remote, the receiver is the problem. If neither works, the issue is downstream in the control board or power circuit.
- Check if other remotes still work. If one remote fails but another opens the gate, the dead remote has either lost its programming or its internal circuit has failed. Reprogram it. On Linear and DoorKing receivers, hold the learn button on the control board until the LED changes, then press the remote button within 30 seconds.
- Look for interference. If all remotes intermittently fail, something in the 300 – 433 MHz band is interfering. New construction in South Gate has brought an increase in LED lighting, wireless cameras, and smart home hubs that can swamp a legacy receiver. A receiver upgrade to a rolling-code unit with frequency-hopping usually solves this.
- Check the antenna. A bent, broken, or detached antenna wire reduces range to a few feet. On LiftMaster and Viking units, the antenna is a thin wire that can snap from vibration.
Ghost Controls systems sold for DIY installation sometimes suffer from this specific issue: the receiver board sits inside a plastic housing that traps heat in direct South Gate sun, and thermal cycling eventually cracks solder joints. If your remote works in the morning but fails in the afternoon heat, that’s the signature of a heat-related receiver failure. This is a board-level repair rather than a remote replacement.
Gate Moving Slowly: Load, Voltage, and Mechanical Drag
A gate that’s slowed noticeably is rarely a failing motor. In most cases the motor is working harder against increased mechanical resistance, or it’s being starved for voltage at the far end of a long power run. Here’s how to think about it:
- Mechanical drag: Rusted hinges or rollers, a warped wheel track, or a chain that’s lost tension all increase the load the motor must move. A cast-iron gate that hasn’t been lubricated in five years can feel like it’s moving through mud. Inspect the full travel path before suspecting the motor.
- Low voltage: Many South Gate properties run gate power on a long branch circuit from the main panel. If voltage at the operator drops below 110V under load, the motor slows and the capacitor strains. An electrician can confirm with a meter, but the operator’s behavior is often the tell: the gate moves fine when nothing else on the circuit is drawing power, then slows when landscape lighting or a pool pump kicks on.
- Failing capacitor: If the gate starts slower than it used to and sometimes fails to start at all on the first command, the start capacitor is degrading. Capacitors age with heat cycles, and operators inside metal enclosures on unshaded South Gate walls get hot. Replacing a capacitor before it fails completely is a $60 to $90 fix. Replacing the motor it took down with it is $400 to $600.
- Belt tension (residential units): Mighty Mule and Ghost Controls belt-drive openers stretch over time. A loose belt slips, making the gate move in jerky slow-motion. Most belts have a tensioner that takes five minutes to adjust.
Gate Stops Mid-Cycle: Interrupted Travel and What Causes It
When a gate stops partway and doesn’t reverse, doesn’t beep, and doesn’t respond, you’re looking at either a power interruption, a thermal overload shutdown, or a logic board that’s lost its position. On gate operators with an onboard display or diagnostic LED, the error code here matters. We cover that in the error code section.
The most common causes we see, in order:
- Thermal overload: The motor’s internal thermal switch opened because the gate hit an obstruction and kept trying, or because the duty cycle was exceeded. Let the operator cool for 20 minutes and try again. If it works, the overload did its job and you should find the obstruction or the source of binding friction.
- Breaker tripped mid-travel: A gate that stops dead, with no display, usually lost its AC feed. Check the breaker and any GFCI on the circuit. Some South Gate homes built before 1990 have the gate on a shared circuit that also feeds garage or exterior outlets, making a nuisance trip more likely.
- Logic board reset mid-cycle: A sag or dropout in supply voltage can cause the control board to reboot while the gate is moving. On restart, the board doesn’t know where the gate physically is, so it refuses to move it until it’s re-learned its limits. This presents as a “dead” gate even though it has power.
- Lost limit reference (DC motors with encoders): On BFT and Viking commercial operators, the encoder tells the board the gate’s exact position. If the gate is physically moved while the power is off, or if the gate is knocked off its stop manually, the board loses reference and stops the gate. Re-setting the limits and re-learning travel resolves this.
Grinding Noise: Bearing, Chain, and Rack Wear
Grinding metal-on-metal noise is never cosmetic and never goes away on its own. It’s the sound of parts losing material. The specific character of the sound tells you which system is failing:
- Continuous grind across the entire travel: The drive gear or sprocket teeth are worn, or the chain has stretched far enough to ride up on the sprocket. On older Linear and DoorKing slide gate operators, the drive sprocket wears into a hooked shape, which makes a rhythmic knock-and-grind as each tooth engages.
- Grind only at one or two positions: The rack teeth on a slide gate have a damaged section, or the gate’s wheels have flat spots from sitting in the same position for years. You’ll hear a repeating pattern synchronized with wheel rotation, not motor speed.
- Squeal with grinding undertone: A failing bearing in the motor or gearbox. This is the one that turns catastrophic if ignored. When a gearbox bearing seizes, it can crack the housing. Gearbox replacement is a $500 to $900 job on most operators, while bearing replacement caught early is under $200.
One note specific to South Gate: the air quality here accelerates chain rust. Gates within a short distance of the industrial corridor or the 710 freeway accumulate a fine grit that works into chain links. A chain that looked clean at installation can be grinding through abrasive paste within two years. Wipe the chain, re-lube it with the correct grease (not WD-40, which flushes out the lubricant), and check for stiff links.
Reading Error Codes and Blink Patterns by Brand
Every modern gate operator uses LEDs or a small display to report fault conditions. The method varies by brand, but the underlying information is the same. Here’s a distilled field reference for the brands we service most in South Gate.
DoorKing: The 1601 and 1602 series use a bank of diagnostic LEDs on the circuit board. A continuously flashing red LED on the main board with the gate stopped indicates an obstruction input was triggered. A “no response from operator” scenario with all LEDs dark on a DoorKing usually means the main fuse has blown, not the board. DoorKing boards are more robust than their fuses.
Linear: Linear’s LRA and SL series use the onboard LED to flash a two-digit error sequence: count the long flashes, then the short flashes. One long and three short on an LRA is an obstruction detection. Two long and four short is a limit switch not reaching the set point. The blink sequence repeats every few seconds, so watch it three times to confirm before calling with a description.
Viking: Viking commercial operators use the UL325 entrapment protection LED. A red LED that’s solid means the safety circuit is intact. A red LED that’s flashing means one of the safety devices has been triggered or bypassed, and the operator is in a fault condition. The flash rate tells you whether it’s the loop detector or the photo eye circuit. Details are in the specific model’s install manual, but the short version: count the flashes per cycle, then match that number to the fault table.
Ghost Controls: Residential units from Ghost Controls report via the status LED inside the control box. A slow steady blink is normal standby. A double-flash repeating pattern indicates the safety beam is blocked or misaligned. A triple-flash indicates the operator lost the force profile it learned during setup, which usually requires re-learning the travel limits.
Do not reset the operator to clear an error code until you know what the code means. The code is diagnostic data, and clearing it before you’ve captured it is like throwing away the X-ray before the doctor sees it. Write down the blink pattern or take a video with your phone.
When a Factory Reset Helps and When It Makes Things Worse
The single most expensive mistake we see in gate repair is a factory reset performed as a first-line fix. Here’s the distinction: a reset clears the operator’s memory, not the underlying mechanical problem. On modern operators, that memory includes travel limits, force profiles, and entrapment protection calibration. Wiping it means the gate must re-learn all of that, and some operators won’t run at all until the re-learning procedure is done correctly.
When a reset is appropriate:
- The gate is responding erratically to inputs and you’ve already ruled out power issues and obstruction. A logic board that has locked up from a power surge sometimes needs a cold boot, which is achieved by disconnecting power for 60 seconds, not by a full factory reset.
- The operator is a basic residential unit (Mighty Mule MM271, Ghost Controls TDS2) with no encoded travel limits. These units re-learn in a few minutes.
- You’re selling the property or changing access systems entirely and need to clear all learned remotes.
When a reset makes it worse:
- On an operator with encoder-based positioning (BFT, Viking commercial, some DoorKing slide operators). A factory reset erases the absolute position reference. The gate will refuse to operate until the limits are manually re-driven and stored, a procedure that involves bypassing the safety circuits in maintenance mode. This is not a homeowner procedure.
- When the fault is mechanical. A gate grinding its chain will still grind after a reset, except now the operator has also forgotten its force profile and may drive through the obstruction on the next cycle.
- When the existing installation has field-modified wiring. On some older South Gate properties we see gates that were originally installed decades ago and modified over the years. A reset won’t restore the undocumented wiring alterations, but it will wipe the board’s learned parameters that were compensating for them.
The rule of thumb: if the error code is blinking, record it. If the gate is dead and unresponsive, check power. If the gate moves but misbehaves, check sensors and limits. Reset only when all three of those are ruled out and you’re working on a simple residential unit.
Three Field Diagnostics Anyone Can Run Before Calling a Technician
These three tests won’t fix your gate, but they’ll tell you which system has failed, which means your call to us is more productive. Each test takes under five minutes.
Test 1: The Paper Test (Safety Photo Eyes)
- Stand inside the gate path, in front of one photo eye.
- Roll or crinkle a sheet of paper and hold it between the two photo eyes, at the height of the lenses.
- Watch the receiver eye’s LED. If the LED changes state when you block the beam (typically from solid to flashing, or from green to red), the eyes are communicating. If the LED doesn’t change, the beam is already broken, misaligned, or one eye has no power.
- If the gate closes properly while the beam is confirmed functioning, your problem is elsewhere, likely the safety edge or the obstruction sensor.
On gates with a safety edge strip on the leading edge, run your hand along the strip pressing firmly. A crushed or cracked section that doesn’t rebound immediately often has an internal short. That short is what makes the gate reverse, even with clean photo eyes.
Test 2: The Manual Release Test (Mechanical vs. Motor)
- Find the emergency release mechanism: a pull chain, a keyed release, or a handle depending on the operator. On most residential slide and swing gate operators, it’s a clearly marked red handle or a chain that disengages the drive gear.
- Disengage the operator and push the gate by hand along its full travel path.
- If the gate moves easily and smoothly by hand, the mechanical system is fine and the problem is in the motor, control board, or power supply.
- If the gate is difficult to move by hand, you have a physical binding problem: dry bearings, bent track, debris in the path, or a wheel off its rail. A motor cannot fix a gate that doesn’t move freely by hand.
This single test separates mechanical problems from electrical problems more reliably than any other diagnostic. The gate should move with mild effort. If you’re leaning your body weight into it, that’s a mechanical failure point.
Test 3: The Loop Detector Test (Vehicle Detection)
- Look for a cut line or saw cut in the driveway surface, usually a rectangle or oval loop about 4 by 6 feet, positioned where a vehicle waits at the gate. This is the induction loop.
- Drive a vehicle onto the loop and stop over it. The loop detector inside the operator box has an LED that should illuminate or change color when a vehicle is over the loop.
- If the LED does not change with a car on the loop, the loop or the detector has failed. A failed loop means the gate won’t open automatically for exiting vehicles, and many gate operators treat a failed loop as a fault condition that prevents automatic operation.
- This is not a repair you can do yourself: loop replacement involves cutting the driveway surface and re-sinking wire. But knowing the loop is dead saves a diagnostic visit from us: tell us “the loop test failed” when you call, and we’ll show up with the right equipment the first time.
In our experience across South Gate, roughly a third of “gates that open but won’t close” service calls are loop detector failures on the inside of the property. The gate doesn’t know the car has left because the loop never registered it. The fix is the loop, not the operator.
Common Mistakes to Avoid
- Spraying WD-40 on chains, tracks, or hinges. WD-40 is a solvent that strips away the grease your gate needs. Use a purpose-made chain lube or white lithium grease on sliding surfaces. We see more damaged chains from well-intentioned WD-40 applications than from neglect.
- Factory reset before recording the error code. The code tells us what failed. Resetting erases it. Take a video of the blinking LED before you touch anything.
- Adjusting the force or obstruction dials to “make it close harder.” On every operator sold in the last decade, the force setting is tied to entrapment safety compliance. Cranking it up to bypass a reversing issue can turn a nuisance into a serious safety hazard. That compliance setting exists because UL 325 entrapment standards were written after real injuries.
- Ignoring a grinding noise because “it still works.” Gearboxes, bearings, and sprockets fail progressively. That grinding is metal being machined away. A $100 bearing replacement left too long becomes a $600 gearbox replacement.
- Replacing the whole operator when the remote fails. A dead remote is a $40 to $80 replacement or reprogram. A dead receiver is a board-level repair. We’ve seen homeowners pay for full operator replacements because a remote battery died, and the gate still didn’t work after because the operator was never the problem.
- Adjusting photo eyes without checking for power to both units. One dead eye produces the same symptom as a misaligned pair. If the receiver LED never changes state no matter how you aim them, you’re chasing alignment on a unit with no power going to it.
- Running the gate repeatedly during diagnosis. Every time the gate runs a full cycle while binding, the motor draws elevated current and the gearbox wears faster. Three test cycles per hour is plenty.
When to Call a Professional
If you’ve run the paper test, the manual release test, and checked the breaker, and the gate still misbehaves, the problem is internal to the operator: the control board, the capacitor, the limit assembly, or the gearbox. These are components where incorrect handling can destroy expensive parts or create a safety hazard. Commercial operators on apartment complexes and HOAs add a compliance layer: entrapment protection systems must remain functional and calibrated, and a gate that reverses, grinds, or stops mid-cycle is a liability issue as much as a convenience issue. If your gate is heavy, fence-mounted, commercial-grade, or positional (encoder-based), stop the diagnostics at the point where you’ve identified the failed subsystem and let a technician take it from there. Gate Repair in South Gate service calls start with a free phone diagnosis: we’ll ask for the blink pattern and test results, then quote the repair before we dispatch. For same-week service, call Gate Repair South Gate home at (833) 620-0289.
Frequently Asked Questions
An open-but-won’t-close gate almost always points to a safety sensor or loop detector fault. The operator will open on command because no safety circuit blocks opening, but it refuses to close because it thinks something is in the path. Test the photo eyes with the paper method, check the safety edge for cracks, and look at the loop detector LED with a vehicle over the loop. If those all test clean, the close limit switch is likely the culprit.
Most gate repairs in South Gate run between $120 and $450 for common failures like photo eye replacement, limit switch adjustment, capacitor replacement, or remote programming. Motor or gearbox replacement on residential operators typically lands between $400 and $800. Commercial Viking or BFT systems run higher because the parts cost more and the stakes are higher. We quote the price before any work starts, and we don’t start until you approve the number. Call (833) 620-0289 for an exact quote on your specific system.
For common failures like photo eyes, remotes, capacitors, and limit switches, we can usually get to you same-day or next-day, depending on your location in South Gate and the parts on the truck. Since we stock parts for LiftMaster, Linear, DoorKing, Viking, FAAC, BFT, Ghost Controls, Elite, and Mighty Mule, we rarely have to order and return. Call (833) 620-0289 and we’ll give you a real answer on timing, not a scripted promise.
Yes, eventually. Grinding is mechanical wear, and mechanical wear is progressive. Every cycle grinds away more material until the bearing seizes or the gear teeth strip. The repair gets more expensive the longer you wait. Catch it early and you’re looking at a bearing or chain tension adjustment. Wait until it stops moving and you’re looking at a gearbox or motor replacement.
We work on your brand. Our service area covers operators from LiftMaster, FAAC, BFT, Linear, Viking, Ghost Controls, DoorKing, Elite, and Mighty Mule, which means we service the widest range of residential and commercial gate systems in the South Gate area. From the motor to the keypad, same system, fixed right. We diagnose what’s there rather than pushing a replacement you don’t need.
Repair first, unless the operator is more than 15 years old, parts are discontinued, or the repair exceeds 60% of a new unit’s cost. Modern operators have repairable subsystems, and we’ve revived DoorKing and Linear units that were installed when most South Gate homes in the area were built. If replacement genuinely is the right call, we’ll show you the math on the repair versus replacement and let you decide, and we handle Gate Installation in South Gate as well.
The Bottom Line
Your gate operator talks to you through its behavior. A gate that reverses is reporting an obstruction signal. A gate that grinds is reporting mechanical wear. A gate that stops mid-cycle is reporting a power or position problem. The diagnostics in this guide, the paper test, the manual release test, the loop detector test, take under 15 minutes combined and will tell you which subsystem has failed. From there, the repair path is clear. When the problem is beyond a simple realignment or remote reprogram, call a gate specialist who sees South Gate gates every day. Electric Gate Repair in South Gate starts with a phone call: (833) 620-0289. Estimates are free, and the price is always agreed before the work begins.
Written by the team at Gate Repair South Gate, serving South Gate since 2013.
See the difference
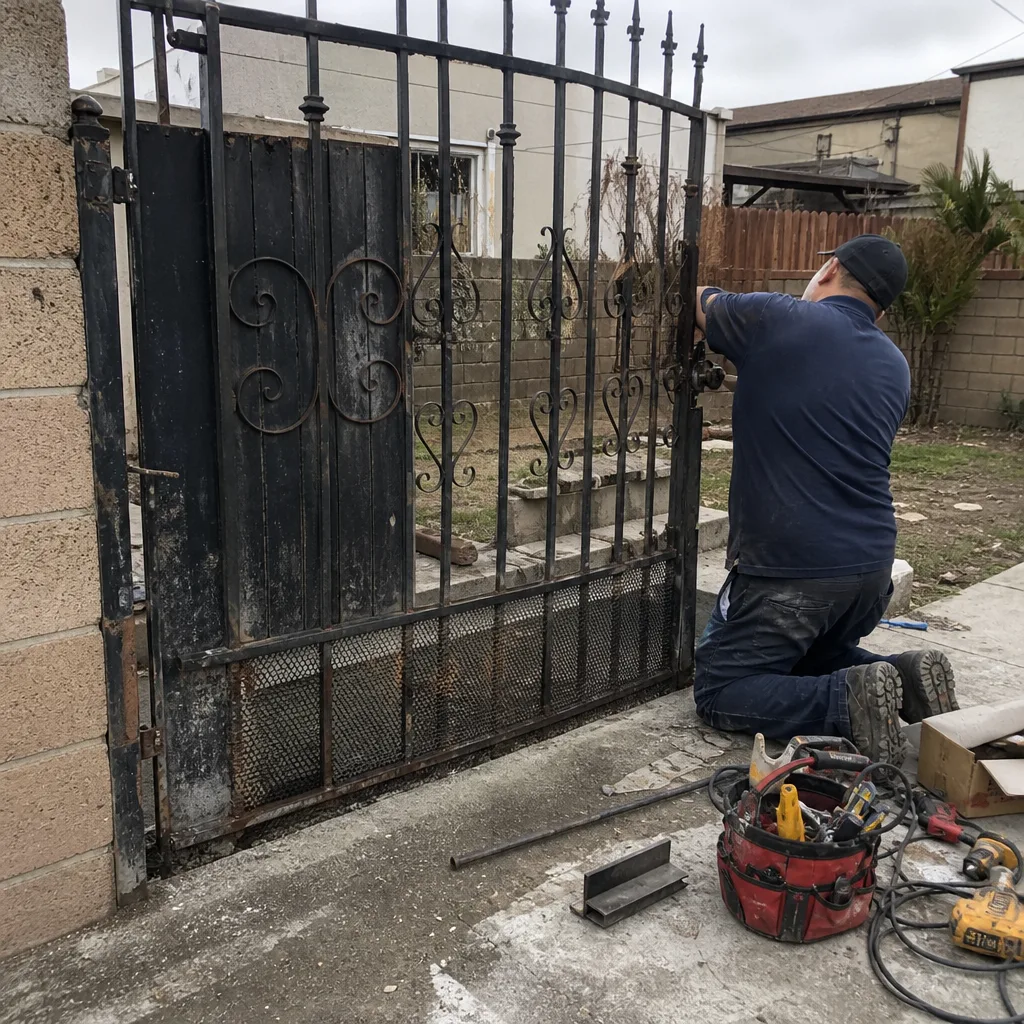 Before
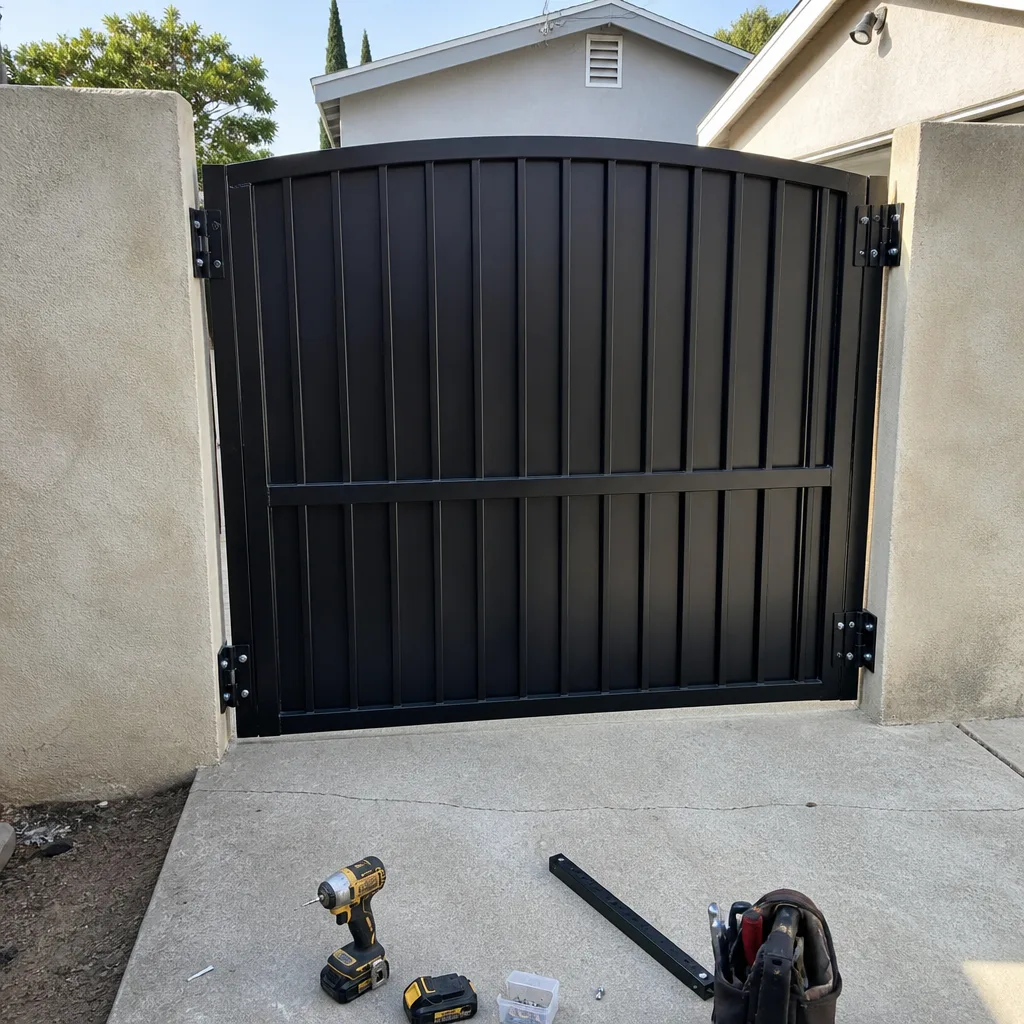 After
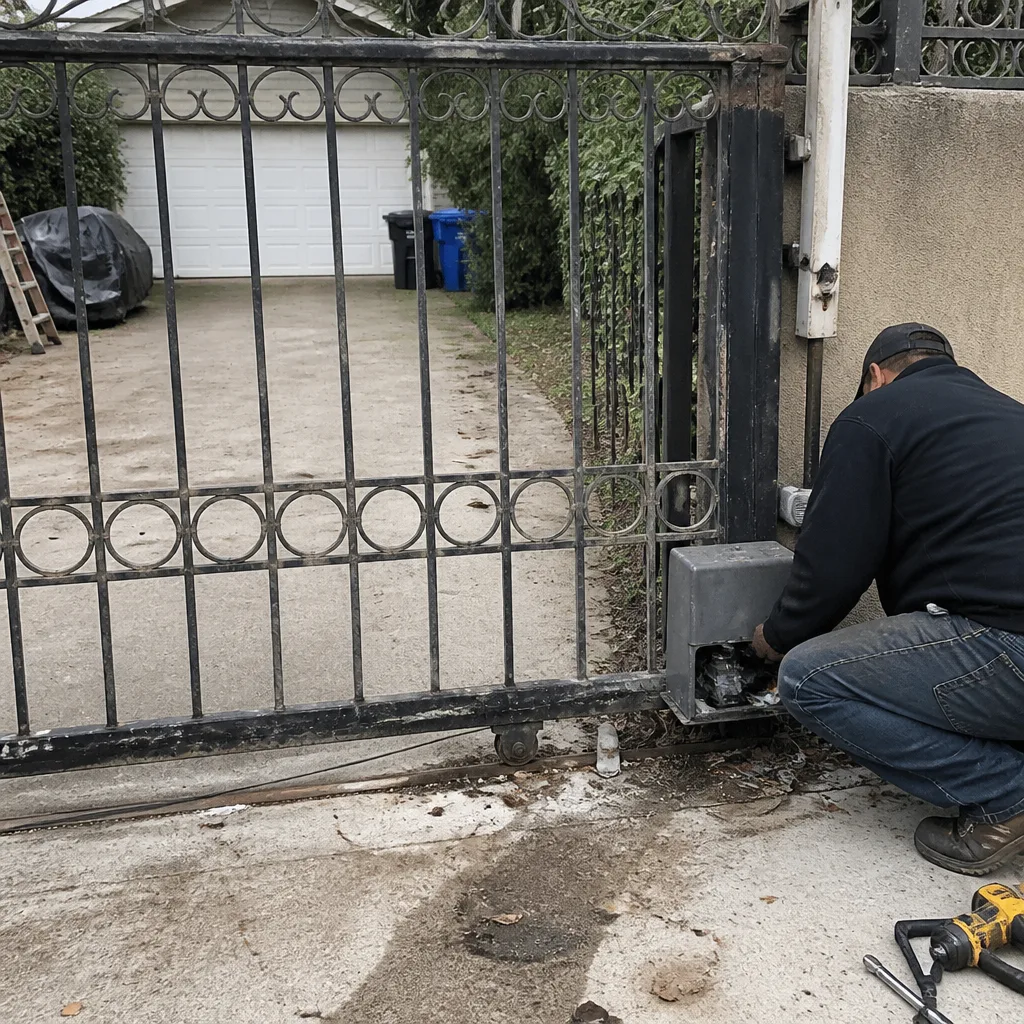 Before
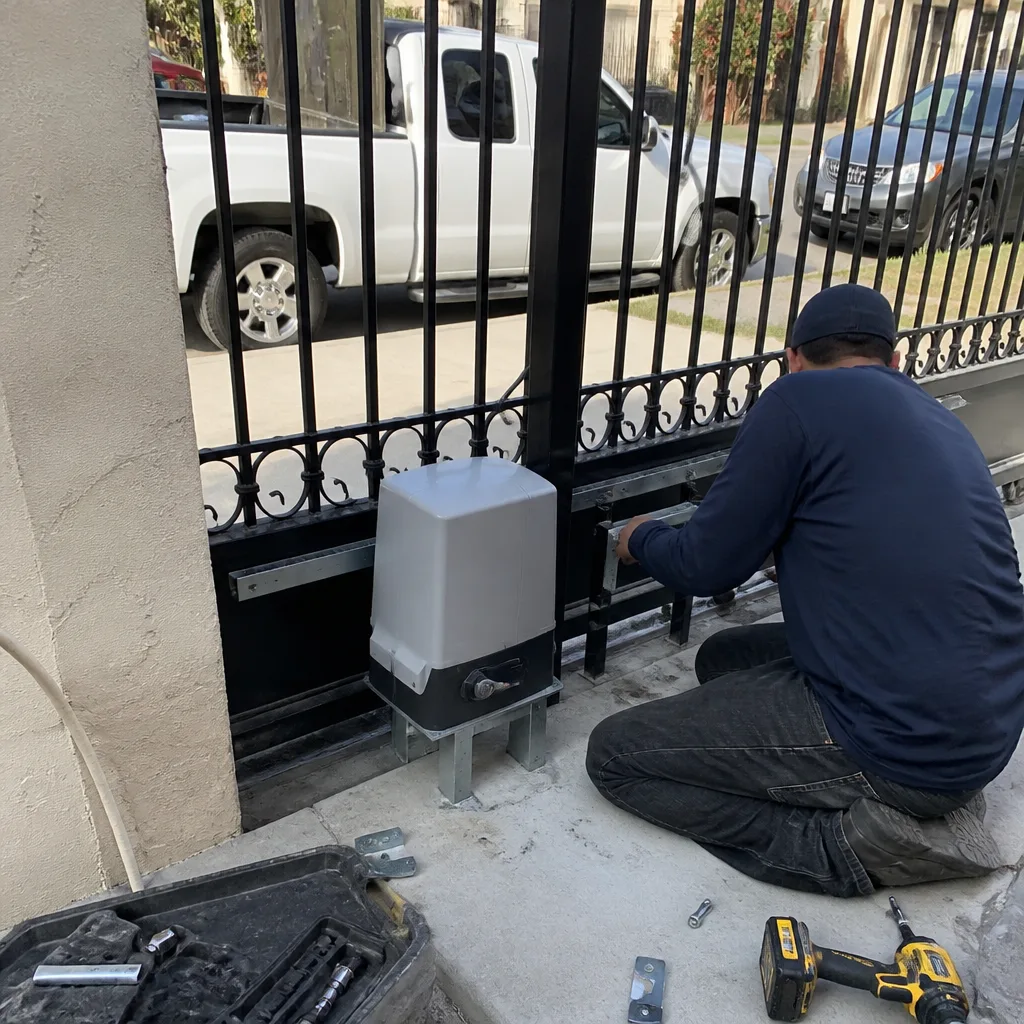 After
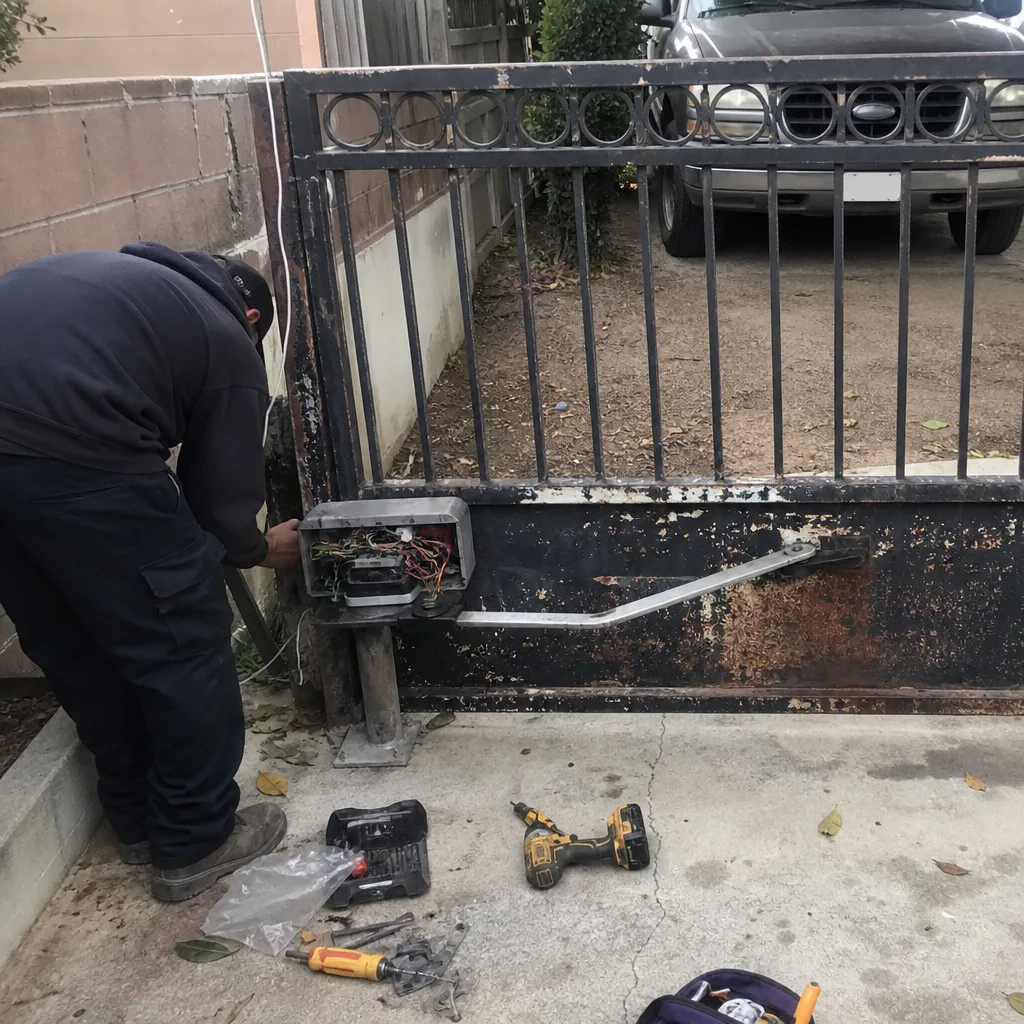 Before
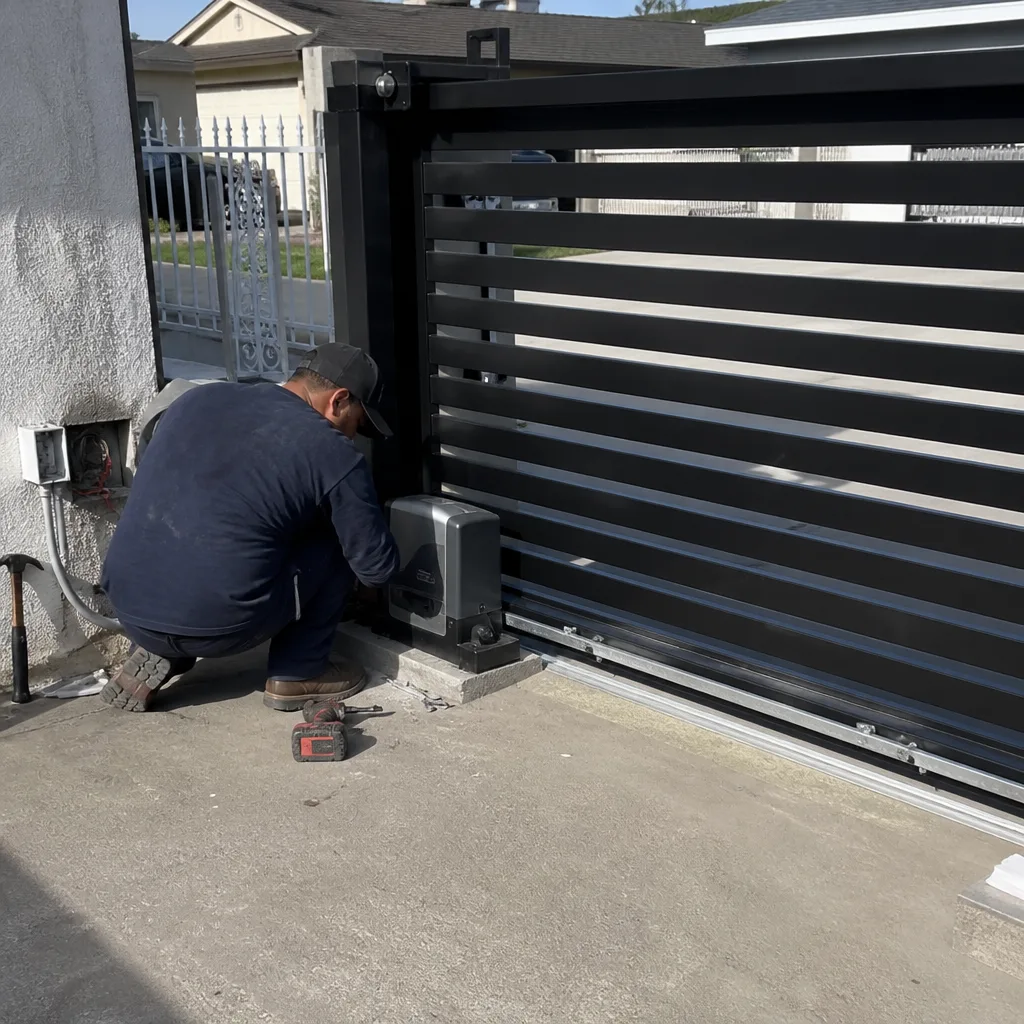 After