
Last updated November 3, 2026
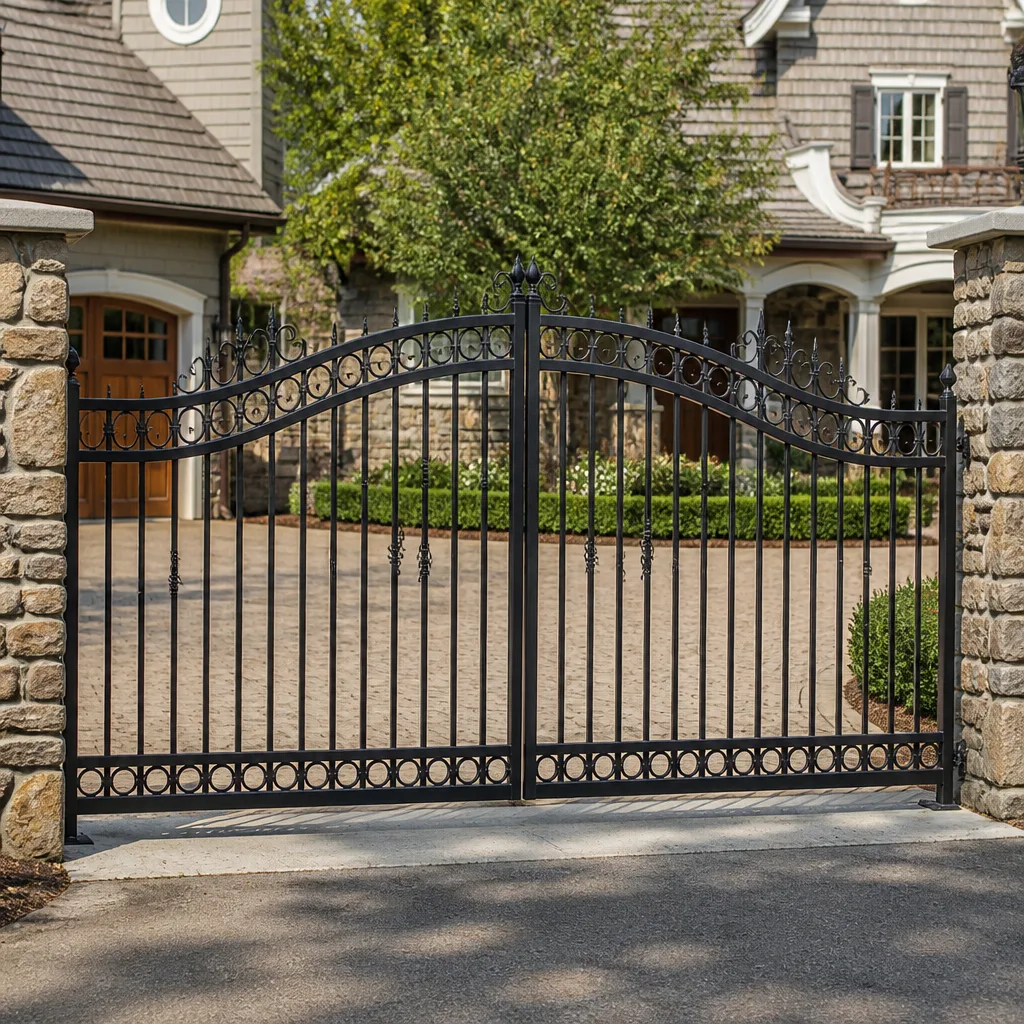 Wrought iron
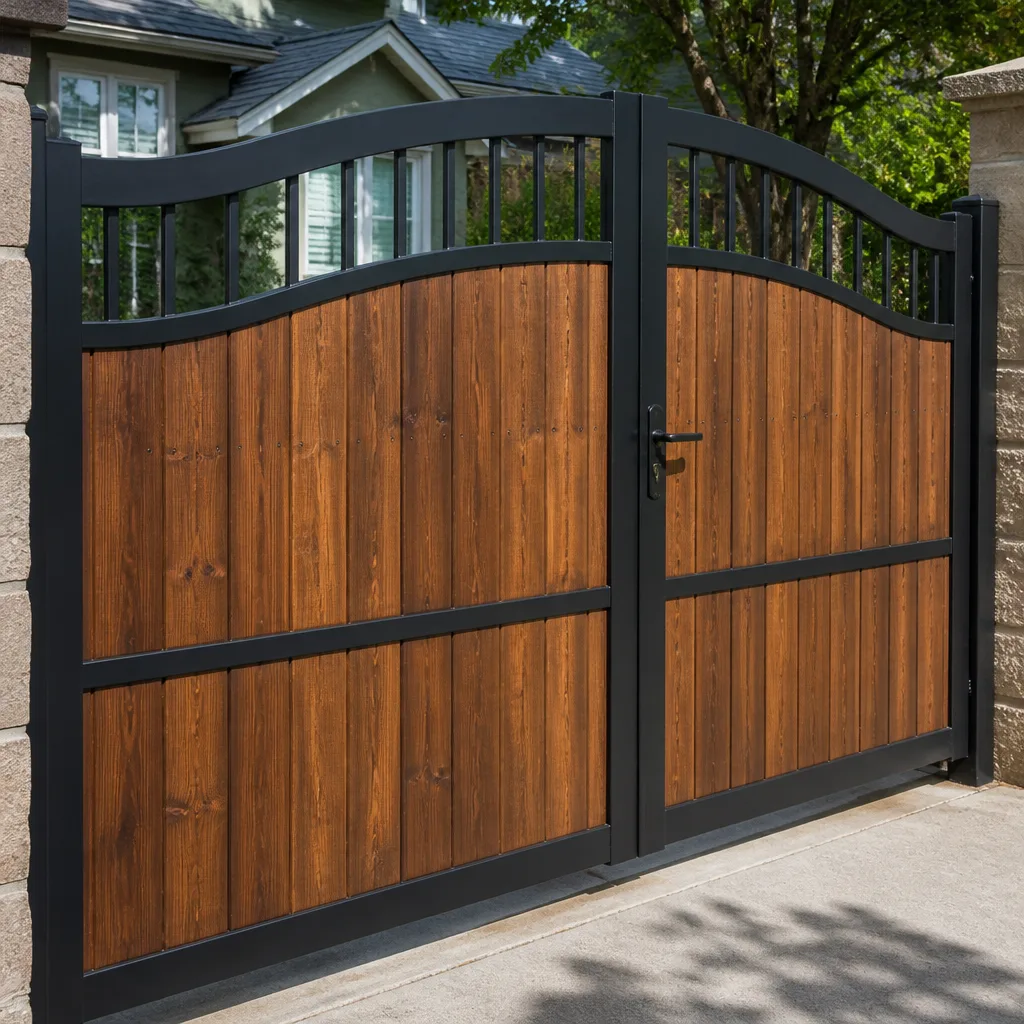 Wood & steel frame
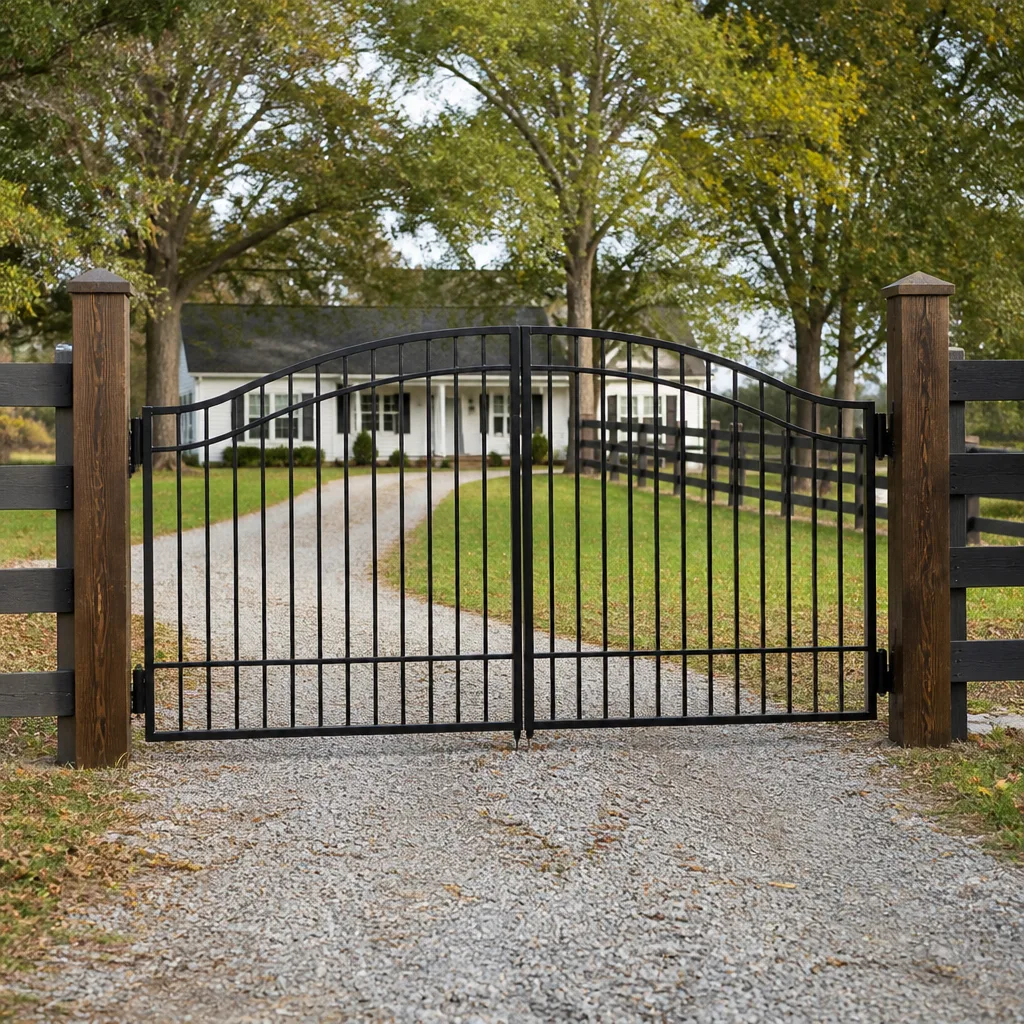 Farm & ranch
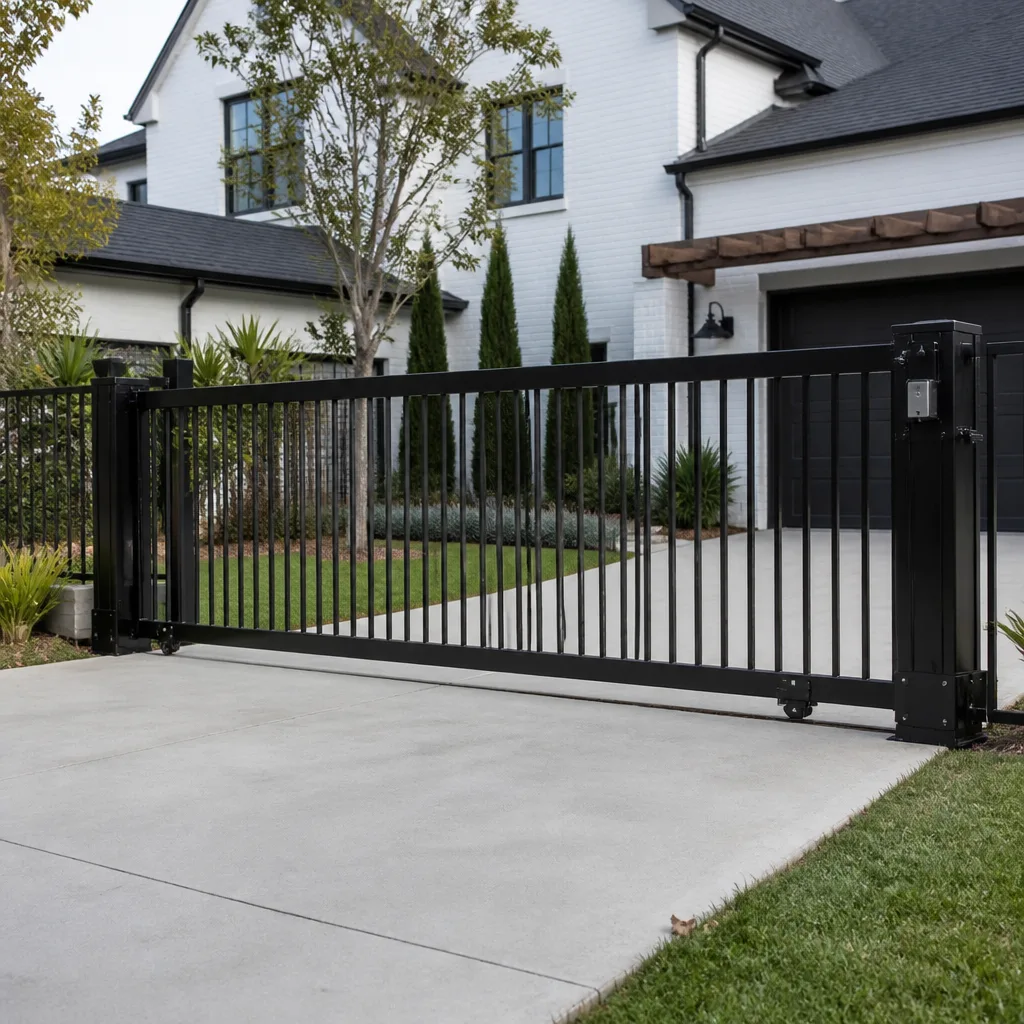 Sliding driveway gates
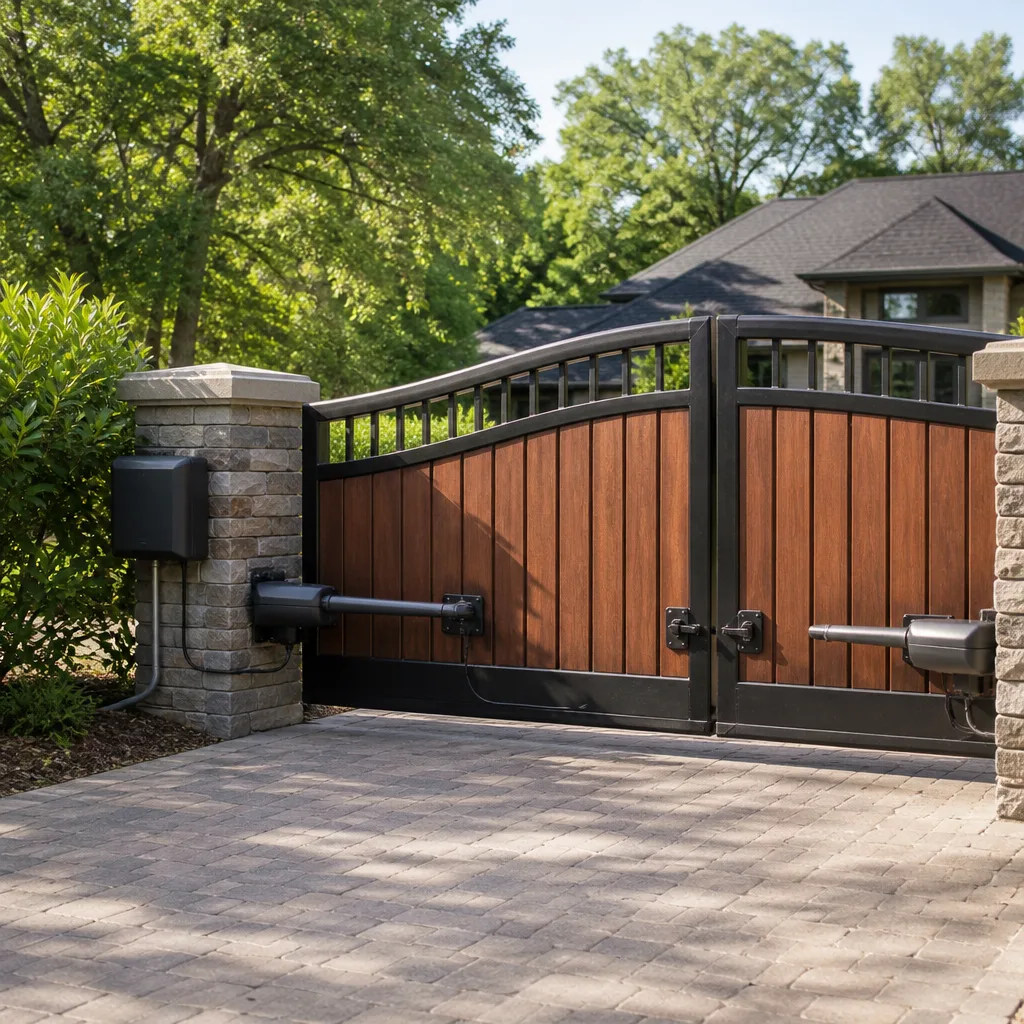 LiftMaster operators
Free on-site gate assessment - hinges, posts, and your LiftMaster or Nice gate operator checked before anything is quoted
The assessment is free and the quote is the invoice.
Get your free estimateThe Complete Gate Repair Guide for South Gate Homeowners
A gate that won’t open has at least six distinct failure points, and only one of them is the motor. We’ve watched South Gate homeowners spend hundreds on motor replacements when the real problem was a misaligned safety sensor, a corroded limit switch, or a keypad that lost its programming after a power surge. Our Gate Repair specialists use this three-layer diagnostic framework on every service call in South Gate, so you understand exactly which system failed before anyone touches your property. By the time you finish reading, you’ll know what’s mechanical, what’s electrical, what’s operator-related, which fixes are safe to attempt yourself, and when to call a professional who works on your brand.
Quick Answer
Gate repair in South Gate typically starts with a diagnostic service call that identifies whether the failure is in the physical gate structure, the drive mechanism, or the control and automation system. Most residential gate repairs in this area cost between $150 and $450 for common fixes like sensor realignment, hinge replacement, or limit switch adjustment, while motor and control board replacements run higher depending on the brand and system age. The fastest way to get an accurate price is to document your gate’s brand, model, and symptom before calling, then have a gate specialist who services that specific equipment diagnose it on site. For deeper context, see The Complete Guide to Gate Repair in South Gate.
Styles & brands we work with
- Wrought iron
- Wood & steel frame
- Farm & ranch
- Sliding driveway gates
- LiftMaster operators
Table of Contents
- The Three-Layer Gate System: Why Diagnosis Comes Before Repair
- How South Gate’s Environment Creates Specific Gate Failures
- The Six Most Common Gate Failure Points in South Gate
- The 20-Minute Diagnostic Sequence Every Homeowner Should Run
- DIY-Safe Repairs vs. Jobs That Require a Trained Technician
- Documenting Your Gate System Before You Call a Technician
- A Seasonal Maintenance Schedule for South Gate’s Climate
- What Gate Repair Actually Costs in South Gate
The Three-Layer Gate System: Why Diagnosis Comes Before Repair
Every automatic gate, whether it’s a residential swing gate on a single-family driveway or a commercial slide gate at a South Gate industrial property, operates on three distinct layers. Each layer fails differently, requires different diagnostic approaches, and costs different amounts to repair. When you understand these layers, you stop describing the problem as “my gate doesn’t work” and start reporting useful information like “the operator runs but the gate doesn’t move,” which tells a technician exactly where to look.
Layer One: The Structure. This is the physical gate itself, the posts, hinges, wheels, track, and the ground it sits on. Structural problems show up as sagging, dragging, binding, or visible misalignment. In South Gate, we see structural issues frequently because the area’s soil composition shifts with moisture changes. Clay-heavy soils expand during winter rains and contract during dry summers, which slowly moves gate posts out of alignment. A gate that scrapes the ground or no longer lines up with its latch has a structural problem, not an electrical one.
Layer Two: The Drive Mechanism. This is what physically moves the gate, including the motor, gearbox, chain or belt, drive arms, and mechanical linkages. Drive mechanism failures present as grinding noises, jerky movement, a gate that moves partway and stops, or a motor that runs without moving the gate at all. One telltale sign we see constantly: a swing gate that opens fine but struggles to close is often fighting a drive arm that’s lost its pivot alignment, not a dying motor. Replacing the motor wouldn’t fix it, and in our experience, it’s the kind of misdiagnosis that creates unnecessary expense.
Layer Three: Control and Automation. This is the brain, including the control board, safety sensors, keypads, remote receivers, loop detectors, and any access control integration. Control layer problems manifest as intermittent operation, no response from remotes or keypads, gates that reverse direction unexpectedly, or systems that work sometimes and not others. After rainstorms, we get calls from South Gate homeowners whose gates stopped responding entirely. More often than not, moisture got into a wire connection or the control board took a hit from an electrical surge, not a mechanical failure at all.
Here is why this matters for your wallet: each layer has its own diagnostic path and its own repair economics. A misaligned safety sensor is a $40 service call adjustment. A corroded control board varies widely, from a $200 repair to a $600-plus replacement depending on the brand. A bent gate post that requires excavation and re-setting is a structural job with different costs entirely. Knowing the layer narrows the possibilities before anyone charges you a diagnosis fee.
How South Gate’s Environment Creates Specific Gate Failures
South Gate sits roughly 10 miles from the Pacific Ocean, and while it’s not directly coastal, marine air moves inland along the 710 and 105 corridors often enough to matter. That salt-tinged moisture accelerates corrosion on exposed metal gate components, particularly on connectors, limit switches, and the bare wire terminals inside operator housings. We see corrosion-related electrical failures at a noticeably higher rate in South Gate than in communities further inland like Downey or Lynwood, where the air sits drier. It’s a slow process, taking years, but it eventually creates exactly the kind of intermittent failure that’s hard to diagnose without opening the housing.
Concrete settling is another South Gate-specific factor. Many of the city’s residential properties were built between the 1920s and 1950s, with driveways and walkways that have shifted over decades. Automatic gate operators are designed to mount on stable surfaces, and when concrete slabs crack or settle unevenly, the operator’s alignment shifts with it. This creates a cascade: the gate binds, the motor works harder, limit switches trigger at the wrong point, and eventually something fails. The original problem was never the gate. It was the ground underneath it.
South Gate’s commercial traffic patterns add a third distinct pressure. Major thoroughfares like Firestone Boulevard, Tweedy Boulevard, and Long Beach Boulevard carry heavy truck traffic. For commercial properties along these corridors, gates cycle far more frequently than residential systems, sometimes hundreds of times per day. That’s an enormous amount of mechanical wear, and it changes the repair profile entirely. A residential swing gate might need hinge work every seven to ten years. A commercial slide gate on a high-traffic South Gate industrial property can wear out its rollers and track in half that time, or less. The system isn’t defective. It’s operating under an entirely different duty cycle.
Understanding these environmental factors changes how you think about repairs. A gate that fails after heavy rain in South Gate is often showing you a corrosion problem that’s been building invisibly for years. A gate on a settled concrete pad that keeps losing its alignment will keep losing it until someone addresses the pad, not just the gate. These are the insights that separate a gate specialist from a general repair tech who treats every symptom as individual and isolated.
The Six Most Common Gate Failure Points in South Gate
When we arrive at a South Gate property for a repair call, the problem is almost always in one of six places. Here they are, ranked by how frequently we encounter them, with the symptoms that distinguish each one.
- Safety sensor misalignment or obstruction (control layer). The gate refuses to close, or starts closing then reverses. Almost every automatic gate installed in the last 20 years has photo-eye sensors mandated by safety regulations. Over time, vibration moves them out of alignment, or foliage grows into their path. This is the number one cause of “my gate won’t close” calls. The fix is often a five-minute adjustment, and it’s not a motor problem at all.
- Worn or corroded limit switches (linear). The gate opens fully but won’t stop, opens partway, or slams at the end of its travel. Limit switches tell the operator when to stop. They’re exposed to the elements more than any other electrical component, and in South Gate’s moist air they corrode steadily. A switch that was fine last year may fail this spring.
- Drive arm or linkage wear (drive mechanism). The motor runs but the gate doesn’t move, or moves with a grinding, popping sound. For swing gates, the drive arm is a pivoting assembly under constant stress. Its bushings wear out, especially on gates that cycle many times daily. For slide gates, the equivalent failure is a broken chain or worn drive sprocket.
- Control board failure (control layer). Nothing responds, the gate operates randomly, or the operator beeps but no movement occurs. Control boards are sensitive to power surges and moisture intrusion. They fail catastrophically or degrade gradually, and they’re the most expensive common component to replace. Diagnosing them properly requires testing inputs and outputs against the manufacturer’s specifications.
- Hinge and post wear (structure). The gate sags visibly, scrapes the ground, or the latch no longer lines up. This is purely mechanical. On heavy wrought-iron gates throughout South Gate’s older neighborhoods, hinge pins wear down slowly until the entire gate drops a half inch or more. The operator then fights the added resistance, and other components fail as a result.
- Keypad or remote control failure (control layer). The gate works from some devices but not others, or requires multiple attempts. Sometimes it’s dead batteries. Often it’s a keypad whose internal contacts have corroded, or a receiver whose antenna connection has degraded. Access control integration on commercial South Gate properties adds another layer of possible failure points here.
Notice that only one of these, drive arm or linkage wear, involves the motor area at all. The motor itself is rarely the first thing to fail. It’s the supporting components around it that go first, and that’s exactly why understanding the failure points saves you money.
The 20-Minute Diagnostic Sequence Every Homeowner Should Run
Before you call for gate repair in South Gate, run through this sequence. It takes about 20 minutes and narrows the problem to a specific layer, which cuts your service call time in half and helps you talk to the technician in terms they can act on immediately.
- Observe and document the exact symptom. Does the gate not respond at all, respond to some devices but not others, move partway, move fully but not stop, or reverse unexpectedly? Write down exactly what happens. “Gate opens but won’t close” and “gate won’t open” are different diagnostic paths.
- Check the obvious external factors. Is there debris, vegetation, or an object in the gate’s path? Are the photo-eye sensors clean and pointed at each other? Is the keypad lit up? Are the remote batteries fresh? Blocked sensors and dead batteries account for a surprising number of service calls that could have been solved in minutes.
- Test each access device separately. Try each remote, the keypad, any wall station or intercom, and any app-based access. Make notes on which ones work and which don’t. If every device is dead, the problem is probably in the operator’s power supply or control board. If some devices work, the operator is fine and the failure is in the non-working device or its receiver.
- Listen to the operator when you activate it. Stand near the motor housing. Do you hear a hum, click, grind, or nothing at all? A hum with no movement suggests a mechanical bind or a capacitor failure. A click suggests a relay or control board issue. Grinding is mechanical wear in the drive system. Silence points to power or board problems.
- Try the manual release. Most operators have a manual disengage mechanism, often a handle or key. Consult your operator’s manual if you have it. With the operator disengaged, push the gate manually. If it moves freely, the problem is in the drive or control system. If it’s hard to move, the problem is structural or mechanical.
- Note the gate’s physical condition. Look at the hinges or rollers, the track if it’s a slide gate, the drive arm, and the posts. Is the gate level? Is there visible rust, sag, or misalignment? Photograph anything that looks worn or damaged.
Now you have a complete picture: symptoms, device behavior, motor sounds, manual movement, and visual condition. When you call a gate specialist with this information, you’ve already done the work that typically takes the first 30 minutes of a service call. In our experience, this preparation is exactly what transforms a vague, expensive diagnosis into a targeted, efficient repair.
DIY-Safe Repairs vs. Jobs That Require a Trained Technician
Some gate maintenance is genuinely safe for a homeowner. Other work can cause serious injury or property damage if attempted without training and proper equipment. Here is the honest breakdown, because we’d rather you spend ten minutes on a simple fix than pay for a service call, and we’d also rather not see anyone hurt by a gate that suddenly moved under load. For help deciding, read our DIY vs Professional Gate Repair: The South Gate Homeowner’s Decision Guide.
DIY-Safe Tasks
- Cleaning photo-eye sensor lenses with a soft cloth.
- Trimming vegetation that has grown into the gate’s swing or slide path.
- Replacing keypad and remote batteries.
- Tightening visible bolts on non-structural hardware like keypad mounts or antenna brackets.
- Lubricating accessible hinge pins with a light machine oil.
- Clearing debris from a slide gate’s track.
Tasks That Require a Trained Technician
- Anything involving the drive arm or chain under tension. A swing gate operator’s drive arm can move with enormous force when power is restored or a control signal fires. Getting hands or tools near a loaded drive mechanism is genuinely dangerous.
- Control board diagnosis and replacement. Boards carry live voltage even when the gate isn’t moving. Testing them requires understanding of low-voltage wiring, diagnostic LEDs, and manufacturer-specific programming. Incorrect wiring can destroy a new board instantly.
- Spring-assisted or counterweighted gates. Some gates use torsion springs or counterweights to offset their weight. These are under constant load and can release catastrophically if disassembled incorrectly.
- Post straightening or re-setting. A leaning post means the gate’s structural foundation is compromised. Fixing it involves excavation, concrete work, and lifting heavy panels, not a socket wrench.
- Any repair on a commercial gate at a South Gate business. These systems have higher duty cycles, often integrate with access control and fire safety systems, and carry liability implications if they fail after a repair. Commercial work should always go to a dedicated gate specialist.
If you’re not sure which category your problem falls into, err on the side of calling. A diagnostic visit costs far less than an emergency room visit or a damaged gate panel.
Documenting Your Gate System Before You Call a Technician
Every gate system has identifying information that makes your service call dramatically more efficient. Taking three minutes to document yours before you call saves time on site and ensures the technician arrives with the right parts and the right knowledge. Here is what to record:
- The operator brand and model. The operator is the motor and control unit assembly. Look for a label on the housing. Common brands we service across South Gate include DoorKing, Viking, Elite, Linear, LiftMaster, FAAC, BFT, Ghost Controls, and Mighty Mule. The model number, usually a combination of letters and numbers, tells the technician which control board, drive system, and programming protocol your gate uses.
- Any visible serial number. Serial numbers help with warranty verification and sometimes reveal the manufacturing date, which tells us how old the system is without you having to dig through paperwork.
- Photos of the setup. Take clear photos of the operator housing, the gate’s hinge or roller area, the keypad or access panel, and the general layout. A photo of the control board with its wiring visible is even better, though don’t remove any covers unless you’re confident doing so safely.
- The remote or keypad type. Many South Gate homeowners don’t know that some older systems use fixed-code remotes while newer ones use rolling-code. If your system uses fixed-code, replacement remotes are easy to program. If it’s rolling-code, programming requires access to the control board and sometimes a specific sequence.
- The system’s age, if known. If you bought the home with the gate and don’t know its age, the model number often helps us date it. A DoorKing operator from 2005 has different common failure points than a Ghost Controls unit from 2021.
This documentation habit pays off in another way: if your gate fails again in the future, you have a baseline record of what the system is and when specific repairs were done. For commercial property managers responsible for multiple South Gate properties, we recommend keeping a simple spreadsheet with this information for each gate. It converts every future service call from exploratory diagnosis into targeted repair.
A Seasonal Maintenance Schedule for South Gate’s Climate
South Gate’s Mediterranean climate, with dry summers and a winter rainy season, creates predictable maintenance rhythms for automatic gates. Here is a seasonal schedule calibrated to this area that prevents the five most common failures we’ve covered above.
Late Summer (August to September)
This is preparation season before the rains arrive. Check all exposed electrical connections for corrosion and apply dielectric grease to terminal blocks. Inspect the operator housing gasket to ensure it’s still sealing properly. Clear all drainage channels around the gate and operator pad so winter water flows away, not toward, your electrical components. Test the manual release to confirm it still operates smoothly.
After First Rains (November to December)
The first heavy rain of the season is when moisture-related failures surface. Check safety sensors for fogging or water intrusion. Verify that limit switches are still functioning after humidity spikes. Listen for changes in motor sound that might indicate water has entered the operator housing. If the gate behaves differently after rain than before, moisture is somewhere it shouldn’t be.
Late Winter (February to March)
Post-rain inspection time. Check for new rust on hinges, rollers, and drive components. Inspect the gate’s path for erosion or settling that the rain may have accelerated. Test the auto-reverse safety function, which is the most important safety check on any automatic gate system.
Spring (April to May)
As soil dries out, check for any new gate binding or alignment issues caused by seasonal soil movement. Lubricate hinge pins and roller bearings. Test all access devices and replace any remote or keypad batteries that are wearing down. Schedule this as the season for any structural adjustments that winter settling made necessary.
Year-Round Habits
- Keep the gate’s swing or slide path completely clear of stored items, hoses, or potted plants.
- Watch for signs of post lean, especially on older South Gate properties with established trees and settled concrete.
- Test the gate from each access device at least once per month.
- Respond quickly to new sounds. A grinding noise that starts today becomes an expensive repair in six months if ignored.
This schedule prevents more than half of the emergency calls we handle. The homeowners who follow it simply don’t experience the sudden, dead-in-the-driveway failures that bring most South Gate property owners to us on a Saturday morning. For those who want the schedule handled professionally, most electric gate repair in South Gate services include a seasonal inspection option that covers these checkpoints in one visit.
What Gate Repair Actually Costs in South Gate
South Gate’s repair market sits in the middle of the LA County pricing range, generally lower than Westside communities and comparable to nearby Southeast LA cities. These are realistic ranges for common repairs based on our work in this area, and they assume a specialist doing the work correctly the first time.
Common Gate Repair Price Ranges in South Gate
- Diagnostic service call: $75 to $125, often credited toward the repair if you proceed.
- Safety sensor realignment: $40 to $90, occasionally included with a diagnostic fee.
- Limit switch replacement: $150 to $300, including parts.
- Drive arm or linkage repair: $200 to $450, largely dependent on part availability for the brand.
- Control board replacement: $350 to $900, depending on brand and whether programming is required.
- Hinge and post repair: $200 to $800, depending on post condition and whether concrete work is required.
- Full operator replacement: $1,200 to $4,000, driven by brand, gate weight, and access control complexity.
These ranges reflect what we see across the residential and light commercial South Gate market. Your specific price depends on the brand you own, the gate’s weight and duty cycle, and whether your system needs programming or access control integration. Every reputable gate specialist should quote the full price before any work starts, no surprises after the fact. If you’re considering a new system instead of a repair, gate installation in South Gate follows a different pricing model that factors in site preparation and system design.
Common Mistakes to Avoid
- Replacing the motor before checking the sensors. This is the most expensive mistake we see. A gate that refuses to close is often a blocked or misaligned photo-eye sensor, not a bad motor. Test the simple things first before authorizing major component replacement.
- Ignoring corrosion until it fails. In South Gate’s moist air, small corrosion at connectors becomes a dead gate eventually. A $20 terminal cleaning done early prevents a $400 control board replacement later.
- Using the wrong lubricant on drive components. Heavy grease attracts South Gate’s dust too quickly and creates an abrasive paste. Light oils on hinges, dry lubricants on tracks, and nothing on photo-eyes is the correct approach.
- Assuming the gate brand doesn’t matter. A technician who doesn’t work on your specific brand, whether it’s Viking residential or DoorKing commercial, is guessing. Guessing costs you money. Ask directly about brand experience before booking.
- Delaying structural repairs while the gate still “works.” A sagging gate puts stress on every other component. By the time it stops working, the damage has spread from the hinges to the drive system, doubling or tripling the repair cost.
- Resetting the breaker repeatedly without addressing the cause. If your gate keeps tripping the breaker, something is drawing excess current. Resetting it repeatedly is like ignoring a fire alarm because the siren is annoying.
See the difference
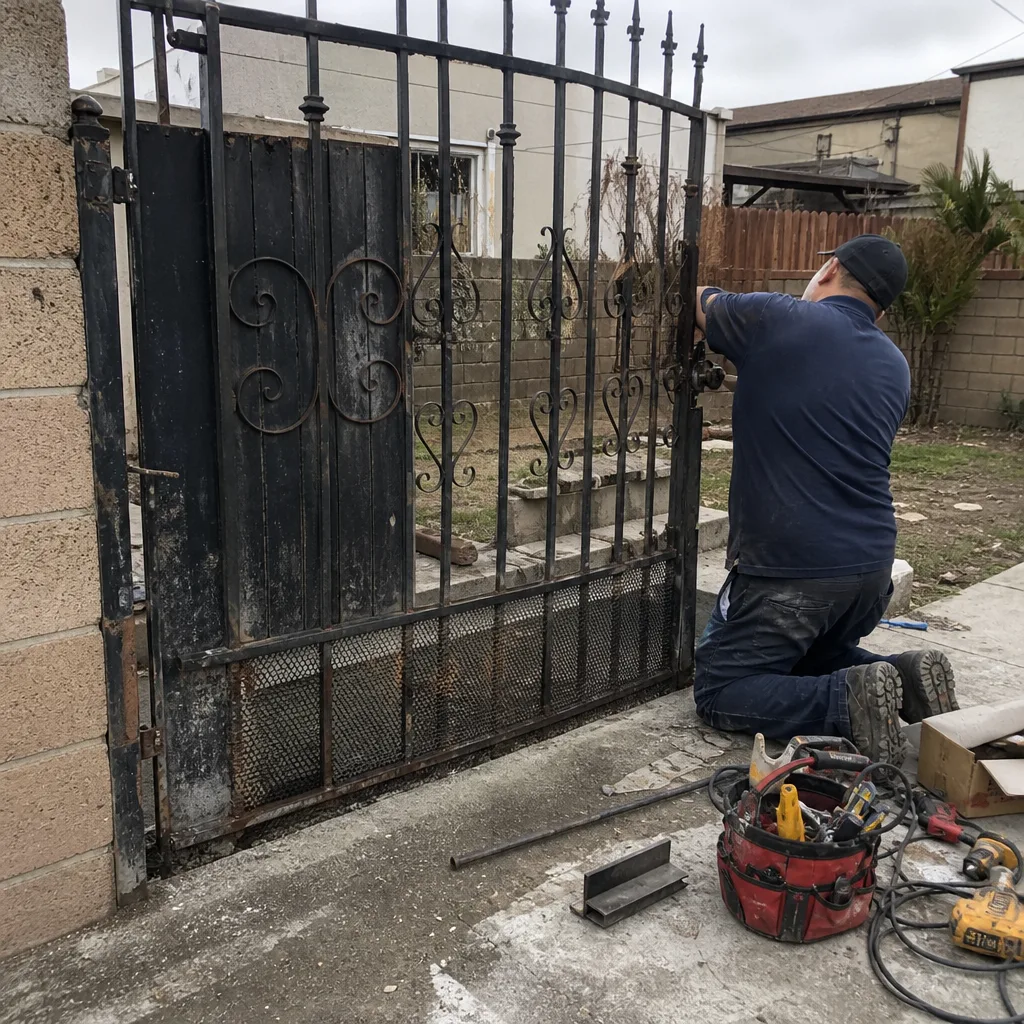 Before
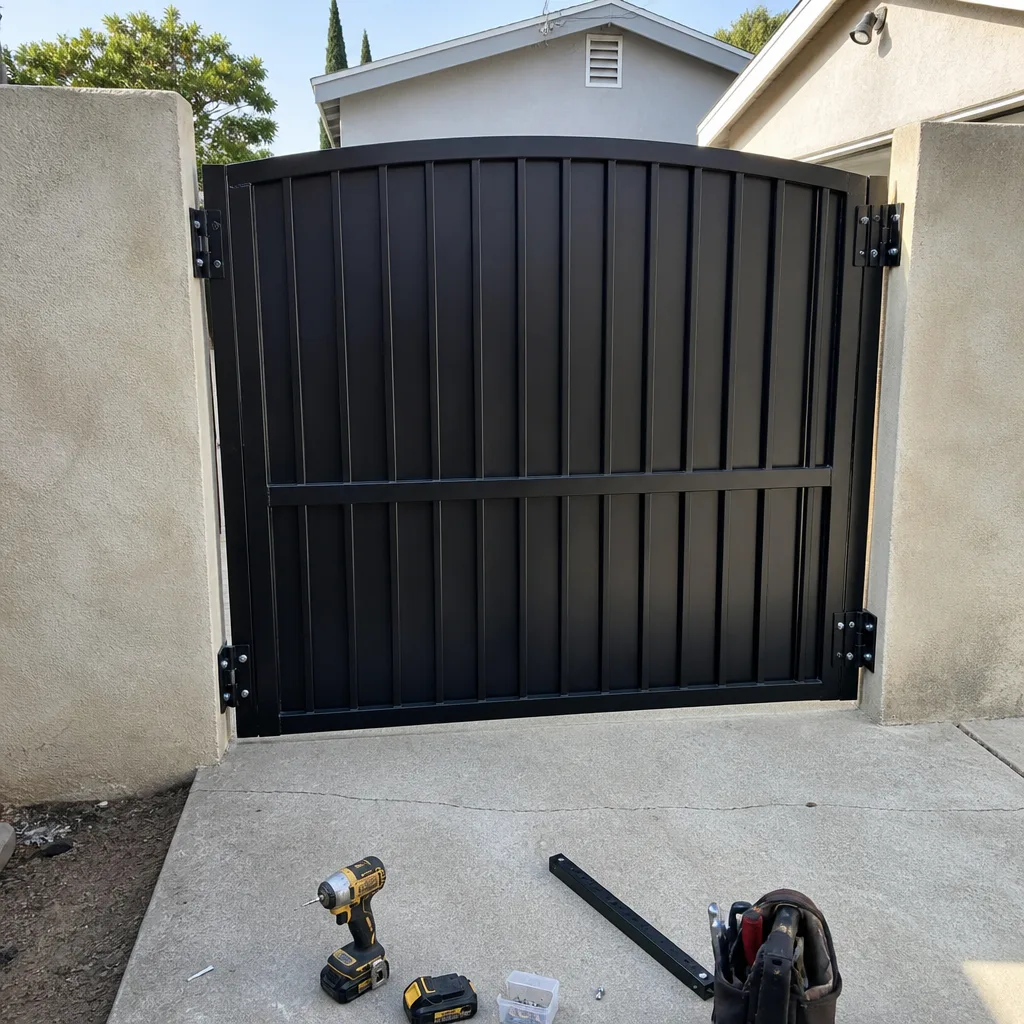 After
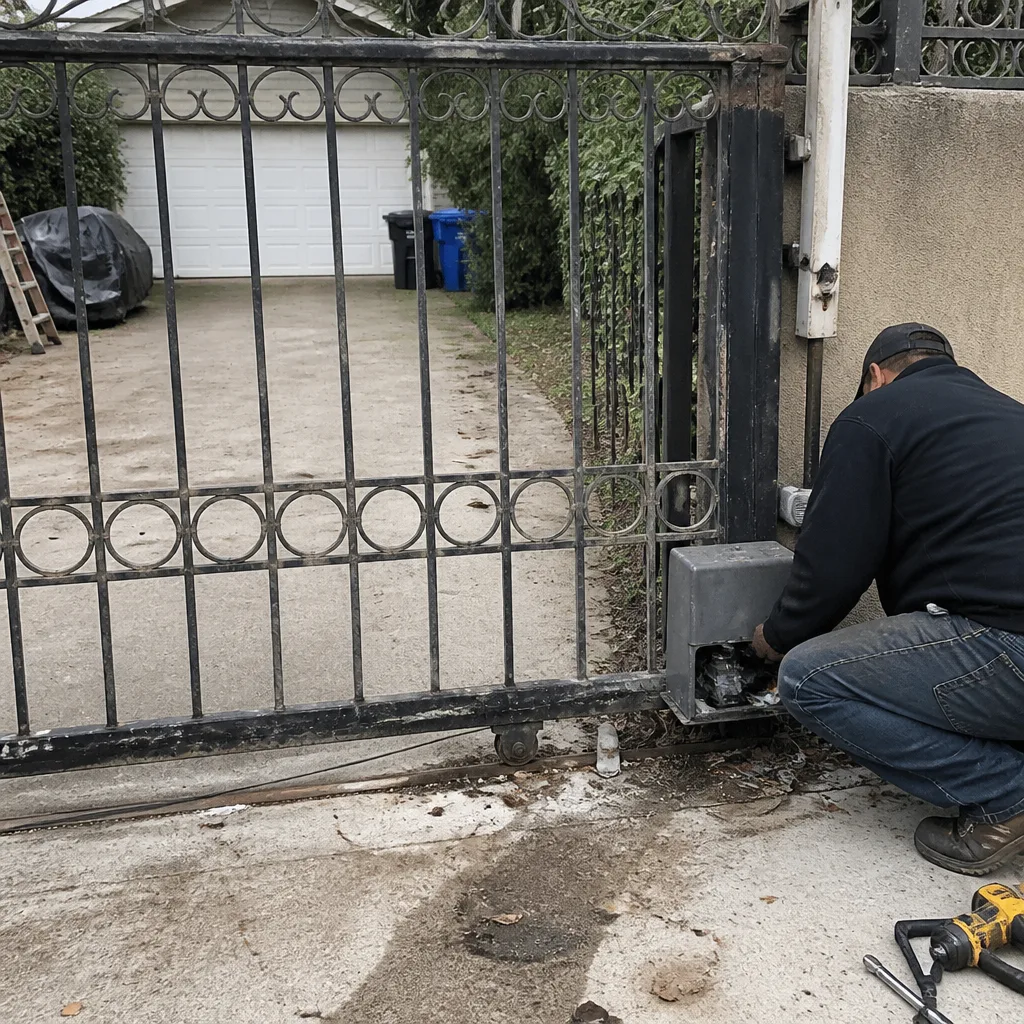 Before
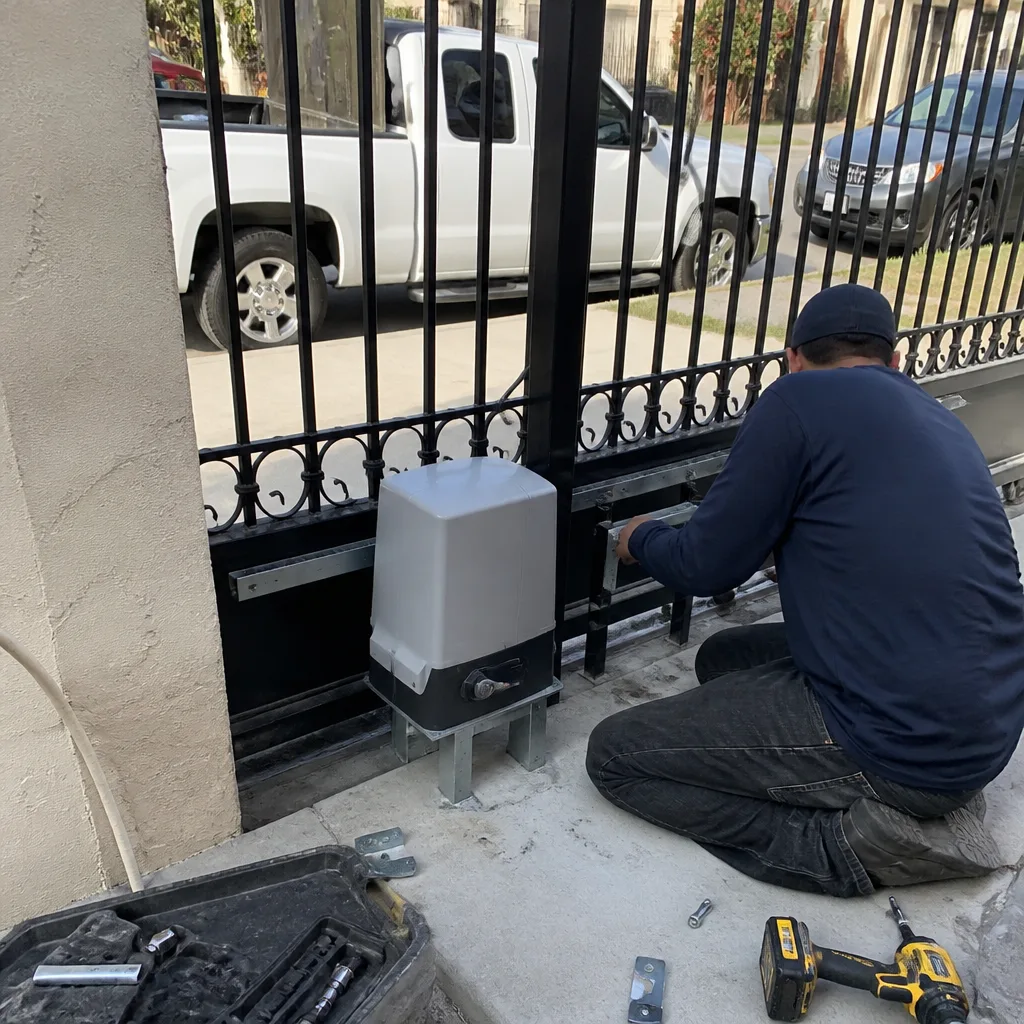 After
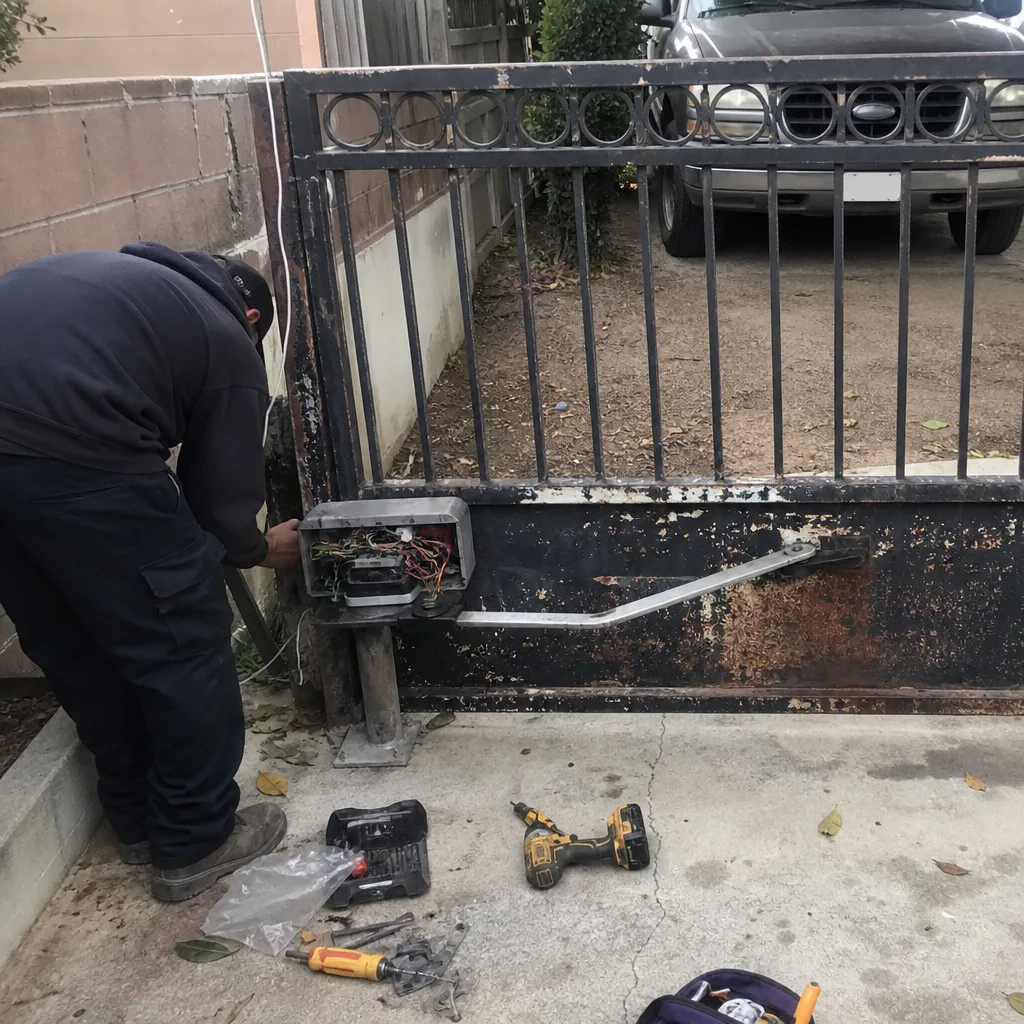 Before
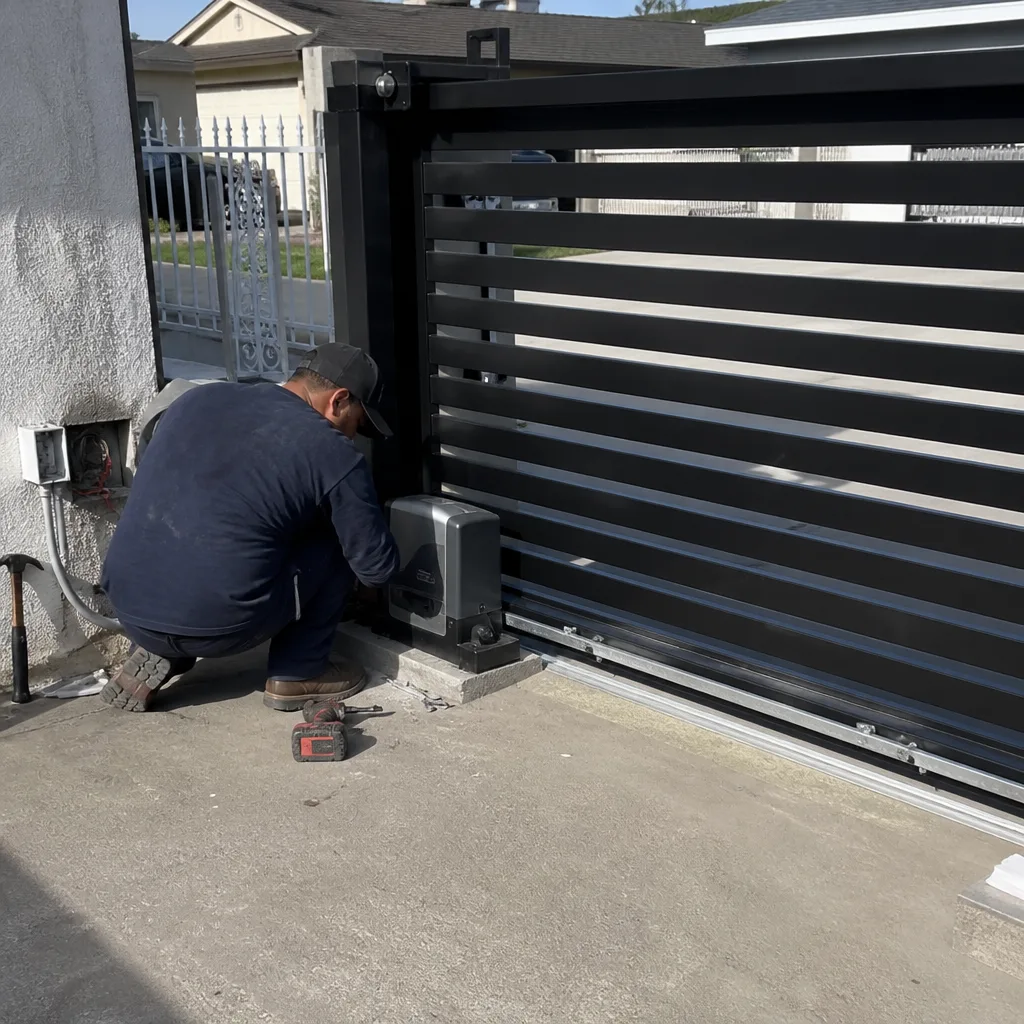 After
When to Call a Professional
Call a gate specialist if your gate makes grinding or popping sounds, opens or closes unexpectedly, refuses to respond to any access device, shows visible sag or structural lean, or has exposed damaged wiring. Also call if you’ve followed the diagnostic sequence above and still can’t identify the problem, or if your system’s failure creates a security issue for your South Gate property. Commercial property managers should call for any gate that serves tenants or employees, because liability exposure changes the risk calculation. Gate Repair South Gate offers free estimates in South Gate, call (833) 620-0289 and we’ll help you understand exactly what’s wrong and what it costs to fix.
Frequently Asked Questions
Most residential gate repairs in South Gate cost between $150 and $450 for common issues like sensor realignment, limit switch replacement, or hinge repair. Control board replacements run $350 to $900, and full operator replacements start around $1,200. Call (833) 620-0289 for an exact quote, estimates are free.
Yes, most common repairs like safety sensor adjustments, limit switch replacements, and remote programming are completed same-day when parts are on hand. More complex failures like control board replacements may require ordering a brand-specific part, which typically takes one to three business days. Call (833) 620-0289 to describe your system and symptom, and we’ll tell you realistically when it can be done.
We service operators from DoorKing, Elite, Viking, LiftMaster, FAAC, BFT, Linear, Ghost Controls, and Mighty Mule, which covers the large majority of residential and commercial systems installed across South Gate. If your brand isn’t in that list, we’ll tell you honestly rather than take the call and guess.
The decision comes down to your control board’s age, the operator’s overall condition, and the economics of multiple component failures. A 15-year-old operator with a failed board and worn drive components often costs more to patch than to replace with a new system that carries a warranty. We always present both options with honest pricing, and we never push replacement when a repair makes more sense.
A gate that opens on its own usually indicates a control board malfunction, a compromised access device, or an issue with loop detection or radio interference. This is a safety and security issue, not just an annoyance. Document when it happens and which devices trigger it, then call (833) 620-0289 for a diagnostic visit.
Most residential gate repairs in South Gate do not require permits, since you’re servicing existing equipment rather than changing structures. Full installations, especially those involving new posts, concrete work, or commercial access control, may require building permits depending on scope. We handle permit coordination for installation projects and can confirm exactly what applies to your specific property.
The Bottom Line
Most South Gate gate failures are not motor failures. They’re sensor misalignments, corroded switches, worn drive components, and structural settling that have been building invisibly for months or years. Running the 20-minute diagnostic sequence before you call a technician narrows the problem to its correct layer, and documenting your gate’s brand and model cuts service time in half. The repairs that are genuinely safe to DIY are limited to cleaning, battery changes, and basic lubrication. Everything involving drive arms, control boards, springs, or post work should go to a trained gate specialist who works on your specific brand. If your gate is misbehaving, document it, check the simple things, and explore our more guides & resources, or call (833) 620-0289. We’ll tell you what’s wrong, what it costs, and fix it right the first time.
For more on what we do and the areas we serve, start with our Gate Repair South Gate home page.
Written by the team at Gate Repair South Gate, serving South Gate since 2013.